Run the
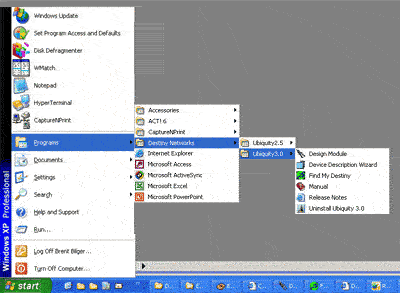
Design Module
Click "Start", "Programs",
"Destiny Networks", "Ubiquity 3.1", "Design Module" |
|
Open the Project:
04 Add Lights.ubq
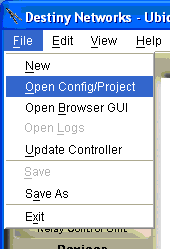
To open the project, select "File",
"Open Config/Project" |
|
|
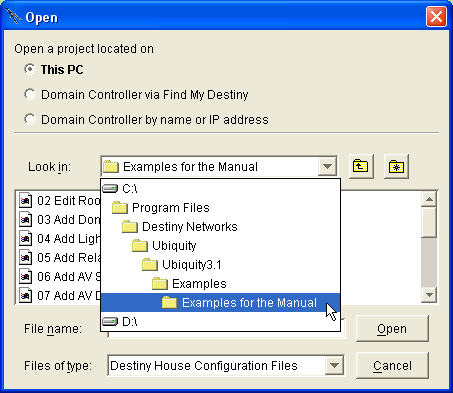
You will get the Open menu.
Navigate to "C:\Program Files\Destiny
Networks \Ubiquity \Ubiquity3.1\Examples\Examples for the Manual" |
|
|
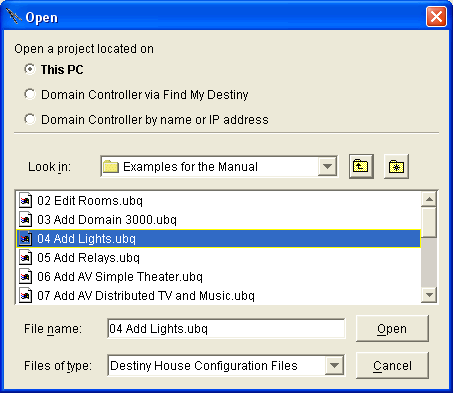
You will get the following menu.
Click on the project "04 Add Lights.ubq"
Click the "Open" button
The project will open. Go to the next step
of adding the lighting system. |
|
Add
the Lutron Homeworks lighting system
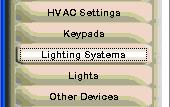
Select the Lighting
Systems layer of the Design Module.
|
|
|
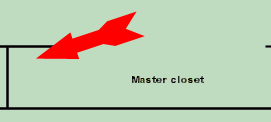
Click in the location in the room in which
you plan to install the Lighting System. |
|
|
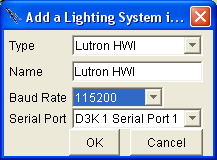
You will get a pop up menu that defaults to
adding the Lutron Homeworks lighting system on the1st serial port available
which should be the "D3k 1 Serial Port 1".
Use the Baud Rate dropdown to select 115200.
Click OK to accept the defaults.
|
|
|
After clicking OK on the menus above a red
dot will appear where you initially clicked to add it.
. |

|
Add a dimmable
light named “Overhead" with address 1:1:0:8:1 located in the center
of the Living room
Select the Lights
layer of the Design Module.
|

|
|
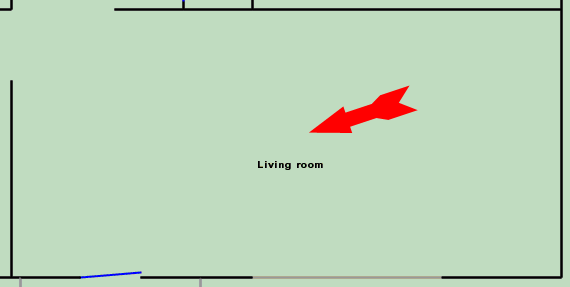
Click in the location in the room in which
you plan to install the Lights. |
|
|
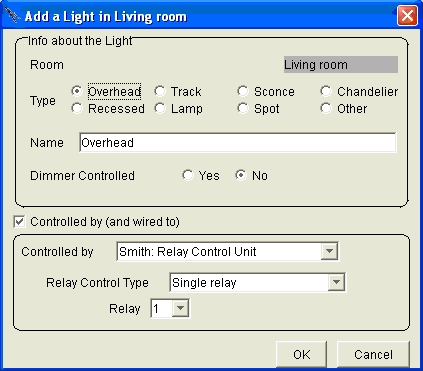
The "Add a Light in the <room name>"
menu will pop up.
|
|
|
Please do the following:
The "Type" is already selected properly
for our example in that we are adding a light named "Overhead".
The "Name" is already selected properly.
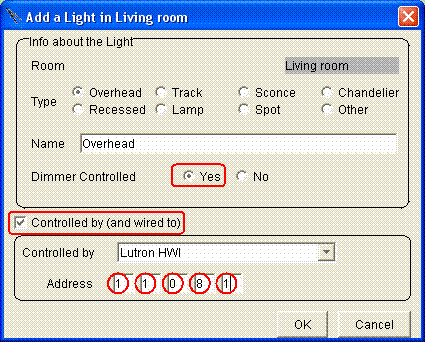
Click on the "Yes" radio button
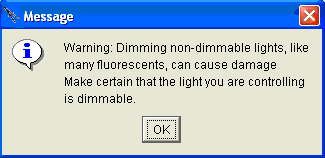
to the right of "Dimmer Controlled. The first time you select "Yes"
you will get the warning message at the lower right. Please read the warning
and then click OK.
Check the "Controlled by (and wired to)"
check box to define how it is controlled.
Click on the "Controlled by" dropdown
box and select "Lutron HWI".
Click in the first "Address" text
box and type "1 <tab> 1 <tab> 0 <tab> 8 <tab>
1"
Click OK to complete adding the light.
|
|
|
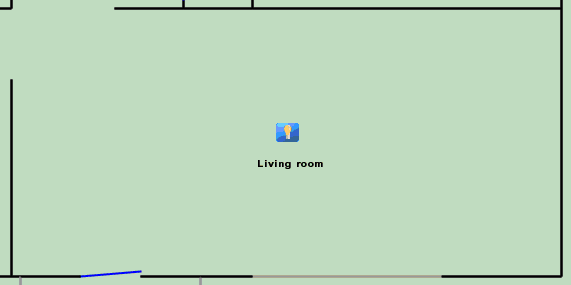
After clicking OK on the menu above an icon
for the device will appear where you initially clicked to add it.
|
|
Add a
non-dimmable light named “Overhead entrance" with address 1:1:0:8:4
located just inside the Front door
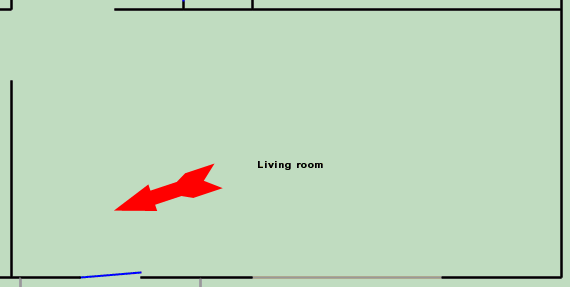
Click in the location in the room in which
you plan to install the Lights. |
|
|
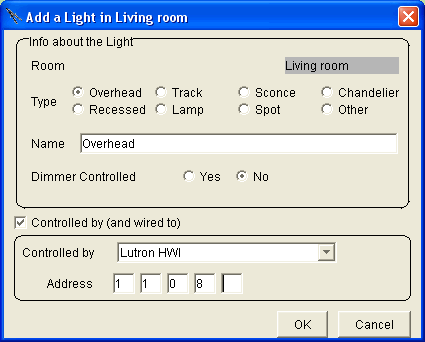
The "Add a Light in the <room name>"
menu will pop up with most of the defaults already correct. This is especially
true if you were adding lights by referring to the Lutron Homeworks Address
Report (and working from bottom to top). |
|
|
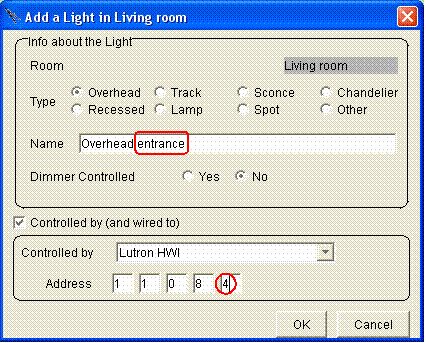
Please do the following:
Click in the "Name" text box at
the end of the work "Overhead" and type " entrance".
Under Controlled by, click in the "Dimmer"
text box and add the number "4".
Click OK |
|
|
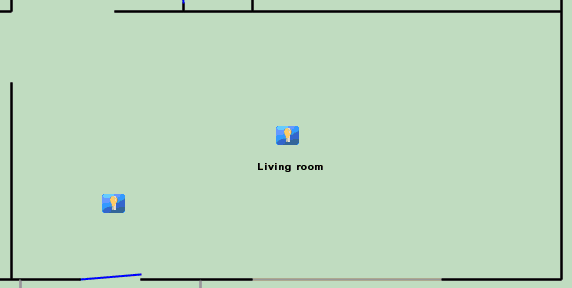
After clicking OK on the menu above an icon
for the device will appear where you initially clicked to add it.
And you are done adding the lights. |
|
Open the
Browser GUI
To open the Browser
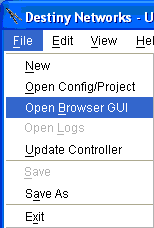
GUI select "File", "Open browser GUI" |
|
|
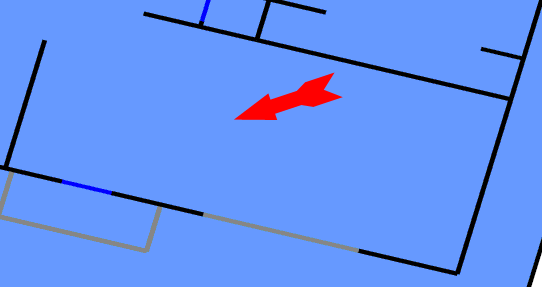
Click in Living room.
|
|
Simulate
turning the lights on and off
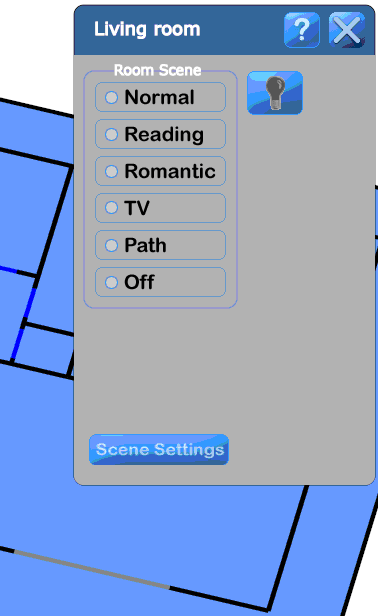
You will get the following pop up "Room
menu". Note that the Living room is blue indicating that the lights
are off.
Click on the icon of the light.
|
|
|
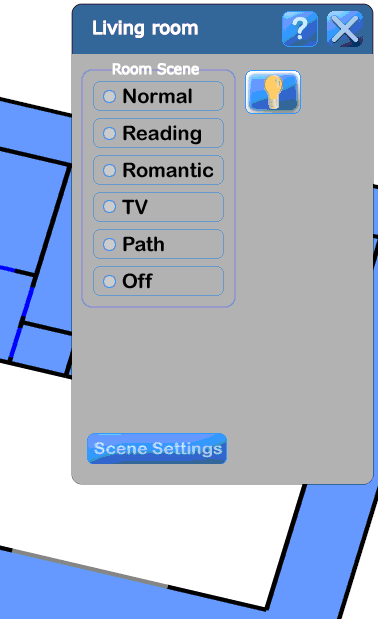
After clicking on the icon of the light you
will get the following Room menu. Note that room turns white to indicate
that the light is on. If you click it a 2nd time it will go back to the
example above.
|
|
|
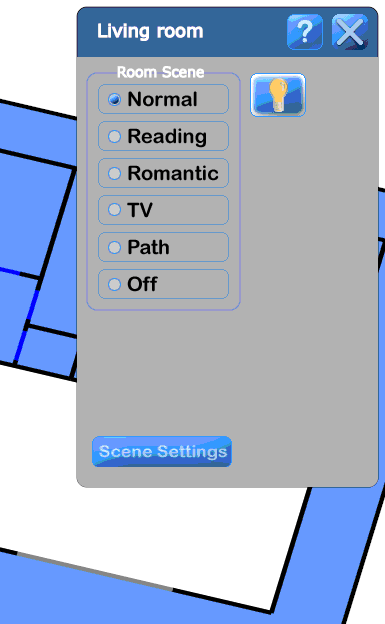
Click on the "Normal" Room Scene.
The icon of the light will be on and the room will be white.
Now, click on the "Scene Settings"
button.
|
|
Scene Settings
Menu
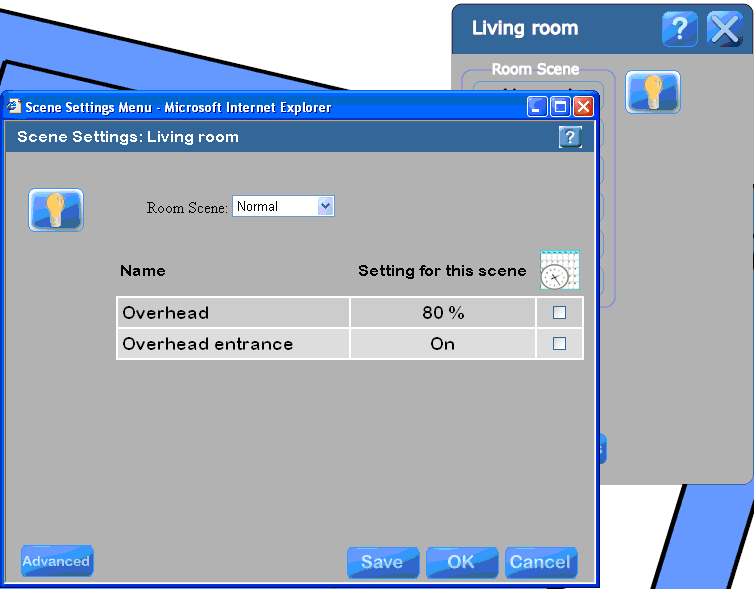
You will get the "Scene
Settings Menu". Note that the Normal scene is selected and that
the dimmable light has a default of 80% in this scene and the non-dimmable
light is On.
The icon of the calendar with a clock in front
of it represents Timer Events. If one
of the lights is tied to a timer event, it will have a check mark in this
column. This is to help you realize why a light is turning on at some
time of the day.
|
|
Change
the dimmable light
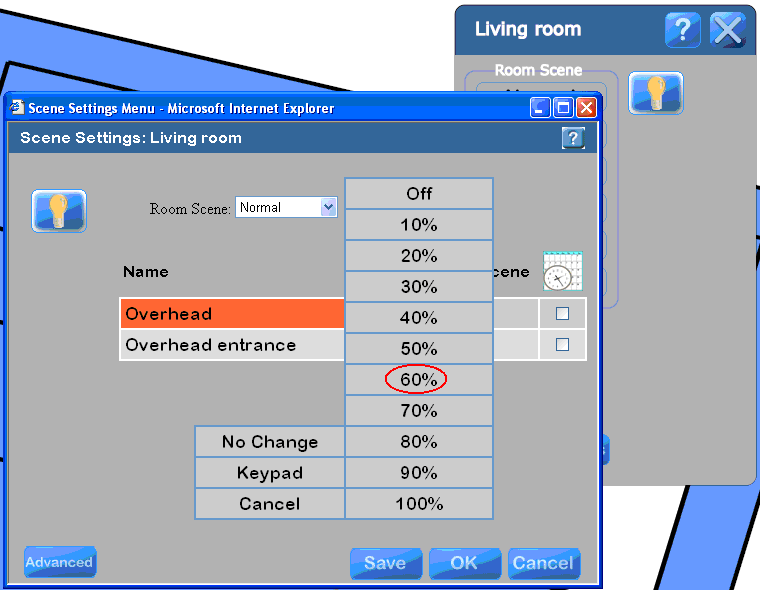
Change the dimmable light to 60% in Normal
scene by clicking on the 80% and getting the dropdown menu shown at the
right.
Click on the 60% to make the change.
Click the "Save" button to save
your changes before changing room scenes. |
|
|
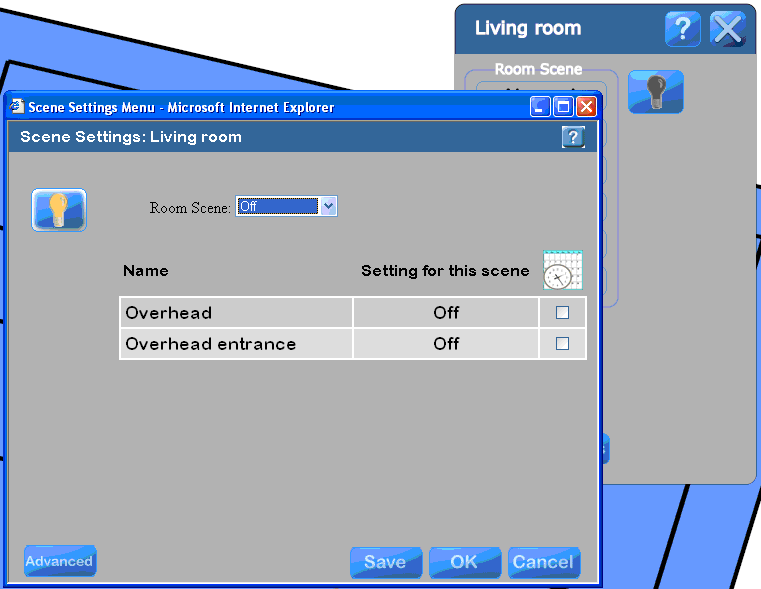
Now, change the Room Scene to "Off"
by clicking on the dropdown box in the upper part of the menu and selecting
"Off".
Note that the room turns blue indicating that
you really are changing the lights in the room when you change scenes
in the Scene Settings menu.
Click the "Advanced" button to bring
up the Advanced Device Setting menu. (If you knew you wanted to go to
the Advanced Device Setting menu without going to the Scene Settings menu,
you could have double clicked the Scene Settings button on the Room menu). |
|
Advanced
Device Settings
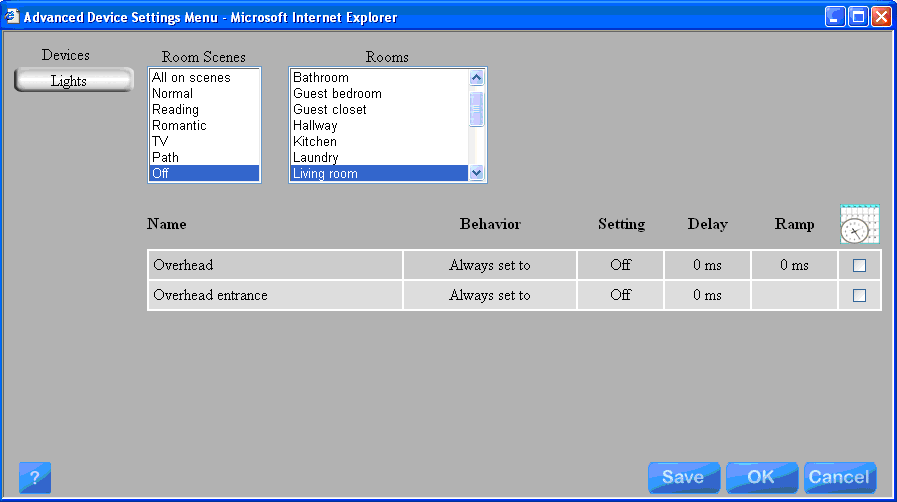
The Advanced
Device Settings menu enables you to change the settings of multiple
scenes and multiple rooms at the same time. |
|
Set "All
on scenes" and the "Off" scene for all rooms to have a
ramp time of 1 second
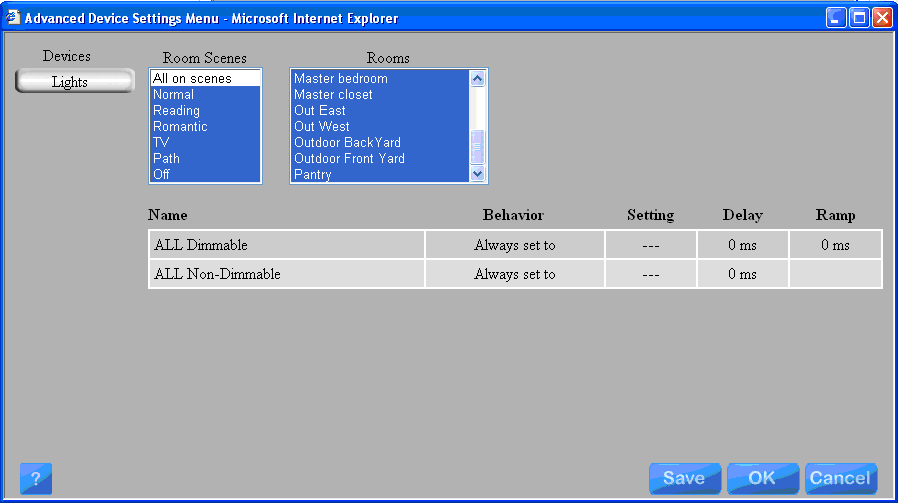
In the Room Scenes box
click on the top item, "All on scenes" and note that all of
the scenes are selected except the Off scene. Hold down the control
key (Ctrl) and click the "Off" scene. Now all scenes are selected. Use the elevator on
the Rooms list box to move to the top of the menu. Select the "Back
Hallway". Note that it tells you that no lights exist for this room. Use the elevator to
scroll to the bottom of the list of rooms. Hold down the Shift
key and click the "Pantry". Note that all rooms are now selected.
Also note that when more than one room is
selected, the list of lights change from the name of the light to "All
Dimmable" and "All Non-Dimmable" lights. This is because
usually you want them to have different delay and ramp times.
|
|
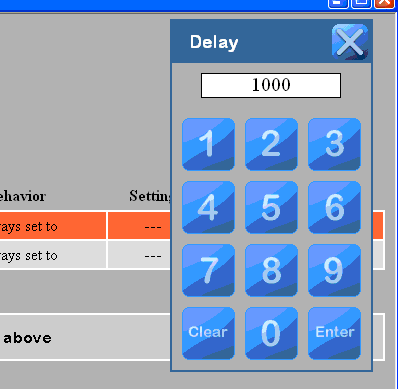
Click on the "O
ms" under "Ramp" in the first row - the "All Dimmable"
lights (non-dimmable lights do not have a delay time because they are
just an on/off switch). This will bring up the keypad shown at the right. Enter 1000 ms into the
keypad by clicking on 1, 0, 0, 0. Note that the ramp times and delay times
are in milliseconds. Click the "Enter"
button |
|
|
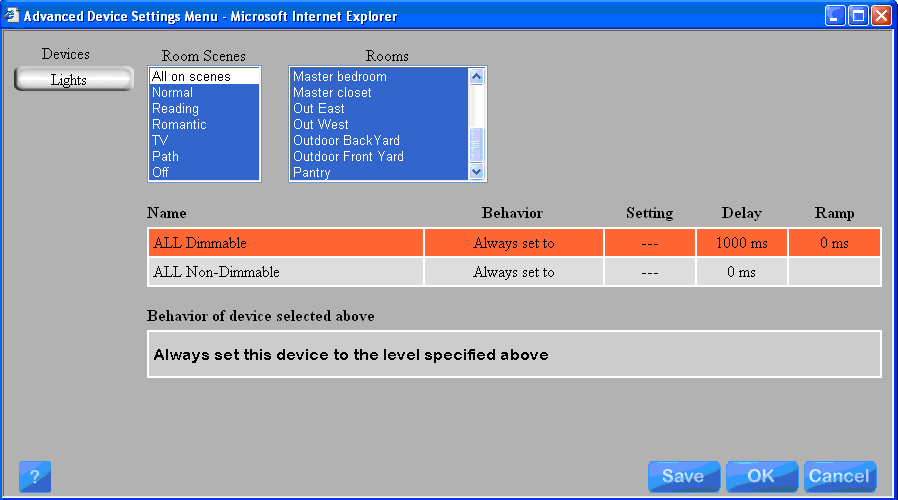
You have just changed all of the ramp times
for all dimmable lights in the house to 1 second.
However, new lights that are added will be
added with their default ramp time of 0 seconds. Therefore, you would
not normally do this step until all lights had been added to the floor
plan. |
|
Open Check
My Destiny and see the lights being set
Click outside of all rooms in the upper window
of the Browser GUI |
|
|
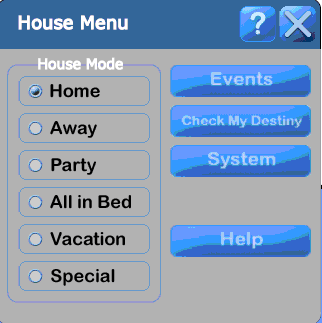
And you will get the House
Menu.
Click on the "Check
My Destiny" button |
|
|
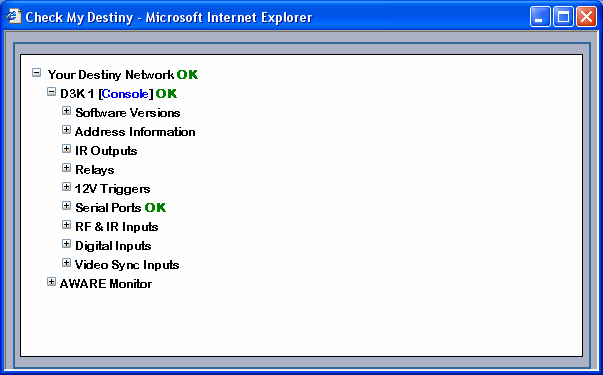
You will get the following display.
|
|
|
Expand the text to see the commands being
sent and received.
Click on the "+"
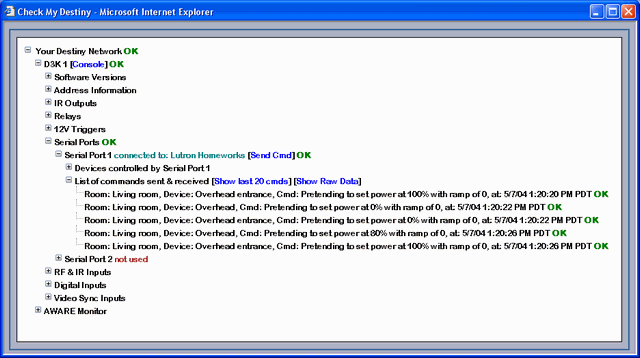
to the left of the "D3K 1" to see the status of the Domain 3000. Click on the "+"
to the left of the "Serial Ports". Note that serial port 1 is
connected to the Lutron Homeworks system and serial port 2 is not connected
to anything. Click
on the "+" to the left of "Serial Port 1". Click on the "+"
to the left of "List of commands sent & received" so you
can see commands being sent and received by the Homeworks lighting system. |
|
Simulate
changes in Check My Destiny
Change the Room Scene and note that Check
My Destiny shows the effect on the lights.
In the Room menu, click
the Normal scene, then the Off scene, then the Normal scene to generate
some activity on the lights. Look at Check My Destiny.
The Simulator will "pretend" to send the commands to the Lutron
system to set the lights to the appropriate values.
Check My Destiny is a powerful tool for helping
you debug problems with your system. If you ever have any problems, head
for Check My Destiny. |

|
Add
and configure an ST-6B keypad at address 1:6:1 to the northwest corner
of the Living room to control the scenes
Select the Keypad layer
of the Design Module.
|

|
|
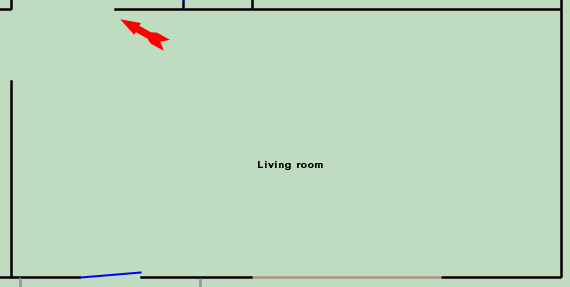
Click in the location you want to add the
keypad |
|
|
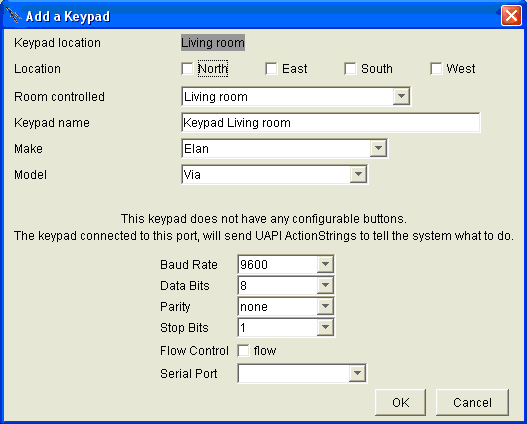
The first time you add a keypad it will default
to something like the menu at the right.
|
|
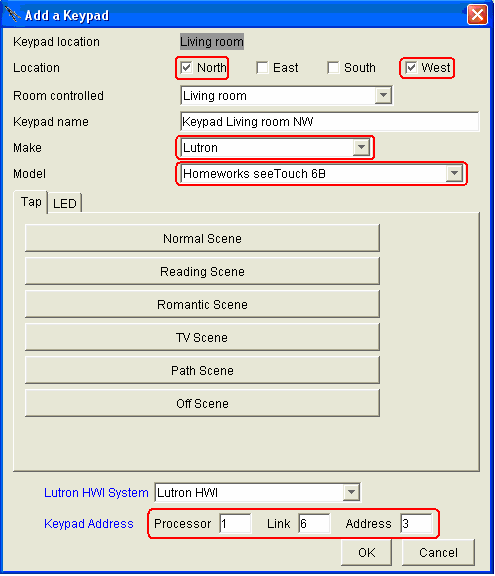
Select the geographic
location of the keypad For "Make"
select Lutron For "Model"
select Homeworks seeTouch 6B For the address, click
in the "Processor" text box and type "1 <tab> 6 <tab>
3. Click OK
As you add additional keypads, the default
will closely match the one you just completed. |
|
|
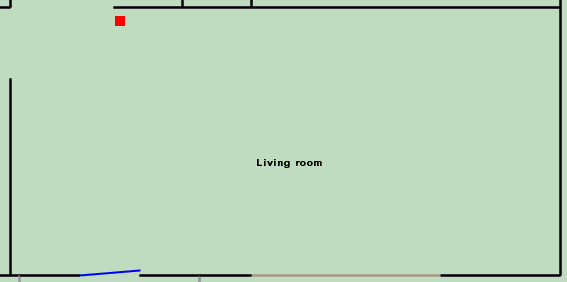
After clicking OK, a red square will appear
on the floor plan representing the keypad. |
|


