Run the Design Module
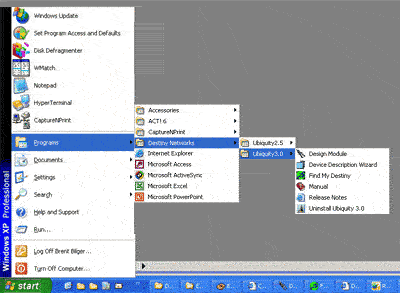
Click "Start", "Programs", "Destiny Networks", "Ubiquity 3.1", "Design Module"
Open the Project: 05 Add Relays.ubq
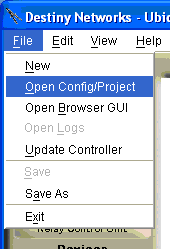
To open the project, select "File", "Open Config/Project"
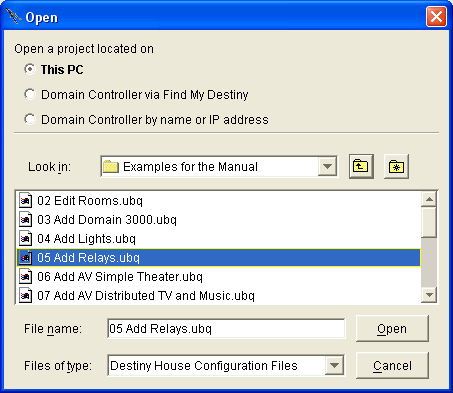
You will get the Open menu.
Navigate to "C:\Program Files\Destiny Networks \Ubiquity \Ubiquity3.1\Examples\Examples for the Manual"
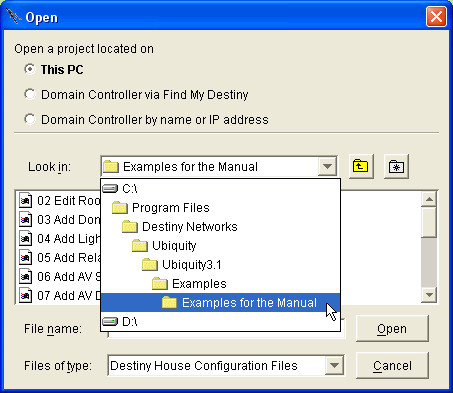
You will get the following menu.
Click on the project "05 Add Relays.ubq"
Click the "Open" button
The project will open. Go to the next step of adding the lighting system.
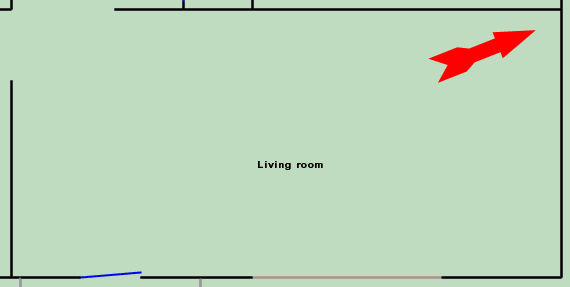
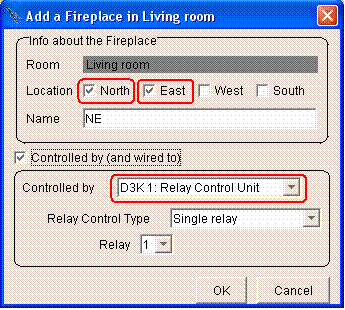
Add a fireplace to the northeast corner of the room using the Domain 3000 relay 1
Select the Fireplace layer of the Design Module.
Click in the northwest corner of the Living room
You will get a default menu like the one of the menus at the right where the "Controlled by" is either the Domain 3000 or the Lutron controller that was used for the lights.
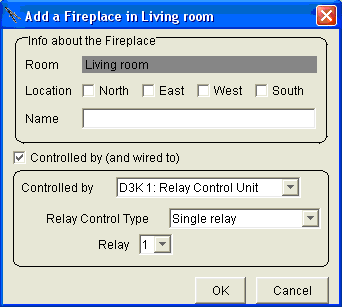
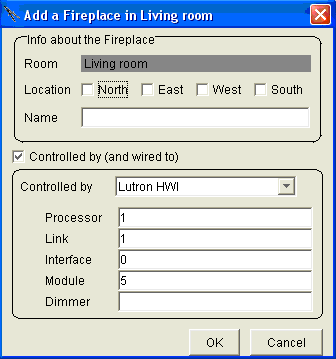
Select the location of the fireplace within the Living room
Select the Domain 3000 Relay Control Unit as the controller of the fireplace.
Click OK
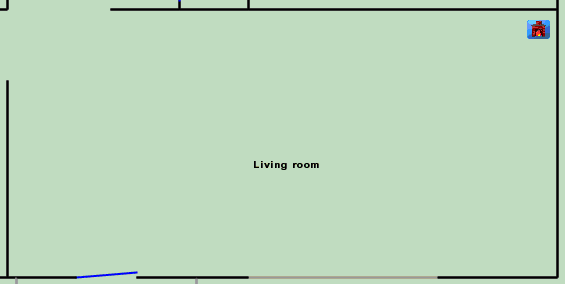
You will get an icon of a fireplace added to the floor plan. It is fully configured.
Its image has been added to the Room menu of the Living room.
It has been added to all of the room scenes with a behavior of "No Change" (that is, the default on/off state of the fireplace will not change based on the room scene, but you can now configure it to change with the room scene, if you want).
It has been added to the Action Tree so that it can be added to Events and Keypads.
Add a fan to the center of the room using the Domain 3000 relay 2
Select the Fans layer of the Design Module.

Click in the center of the room to add the fan.
The pop up menu will be mostly filled out. Click on all compass directions to get the name of "Center"
Click OK.
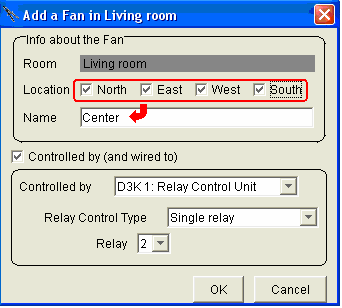
You will get an icon of a fan added to the floor plan. It is fully configured.
Its image has been added to the Room menu of the Living room.
It has been added to all of the room scenes with a behavior of "No Change" (that is, the default on/off state of the fireplace will not change based on the room scene, but you can now configure it to change with the room scene, if you want).
It has been added to the Action Tree so that it can be added to Events and Keypads.
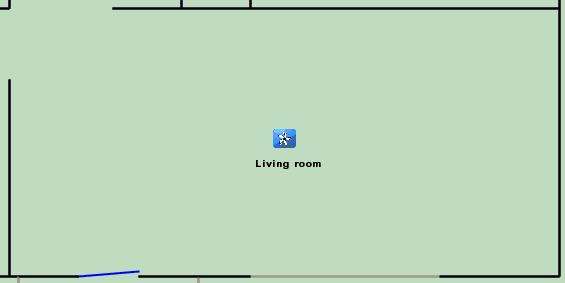
Add curtains to the south center of the room using the Domain 3000 relays 3 and 4
Select the Curtains layer of the Design Module.

Click in the center of the room to add the fan.
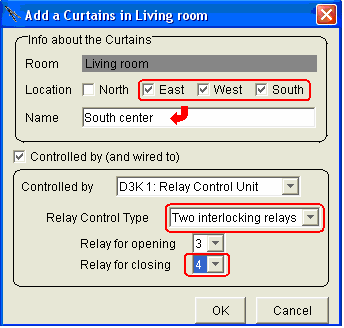
The pop up menu will be mostly filled out. Click on the East, West, and South compass directions to get the name of "South center"
Change the "Relay Control Type" from "Single relay" to "Two interlocking relays" to control the curtains.
Click OK.
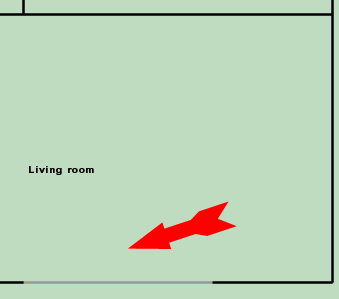
You will get an icon of a curtain added to the floor plan. It is fully configured.
Its image has been added to the Room menu of the Living room.
It has been added to all of the room scenes with a behavior of "No Change" (that is, the default on/off state of the fireplace will not change based on the room scene, but you can now configure it to change with the room scene, if you want).
It has been added to the Action Tree so that it can be added to Events and Keypads.
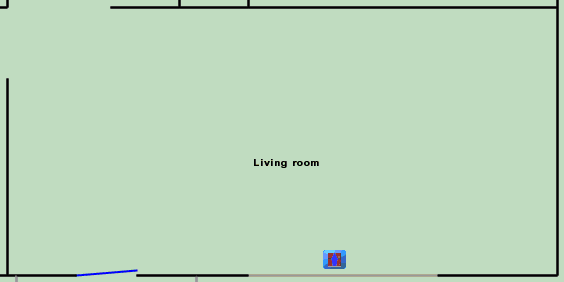
Add a Lutron CCO relay controller with Homeworks address 1:6:11
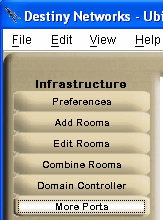
Select the More Ports layer of the Design Module.
Click in the upper left part of the room where you want to add the Lutron CCO controller.
Type your drop-down text here.
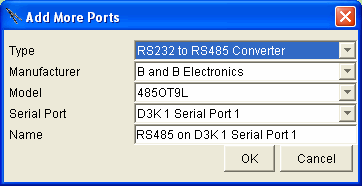
At first, you will get the menu at the right.
For the "Type" select "Relay Control Unit".
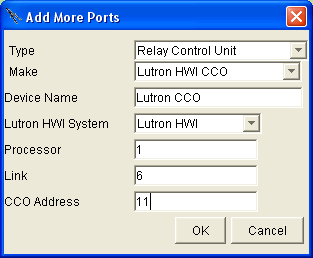
After make that selection the menu will change to the one below.
For the "Make", select the "Lutron HWI CCO"
Fill in the device name as appropriate.
Fill in the address from the Lutron Address Report as shown at the right.
Click OK.
After clicking OK, a red square will appear on the floor plan representing the Lutron CCO controller.

Add a sprinkler to the northwest corner of the Front yard using the Lutron CCO relay 1
Select the Sprinklers layer of the Design Module.

Click in the upper left part of the room where you want to add the Lutron CCO controller.

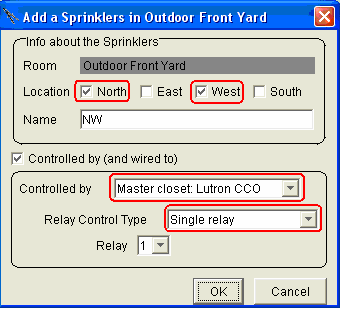
For the "Location", select the "North" and "West"
For "Controlled by", use the drop down menu to select "Master closet Lutron CCO".
For "Relay Control Type", select "Single relay" to control sprinklers.
Click OK.
You will get an icon of a sprinkler added to the floor plan. It is fully configured.
Its image has been added to the Room menu of the Outdoor Front Yard.
It has been added to all of the room scenes with a behavior of "No Change" (that is, the default on/off state of the fireplace will not change based on the room scene, but you can now configure it to change with the room scene, if you want).
It has been added to the Action Tree so that it can be added to Events and Keypads.

Open the Browser GUI
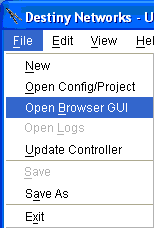
To open the Browser GUI select "File", "Open browser GUI"
Click in the Living room
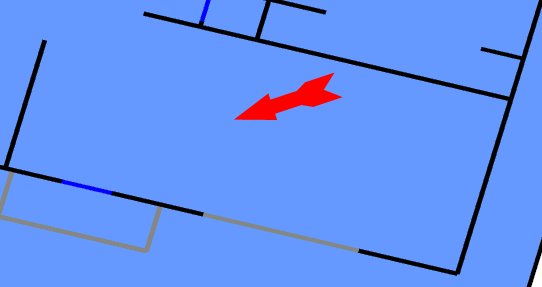
Simulate turning the lights on and off
You will get the following pop up "Room menu". Note that the Living room is blue indicating that the lights are off.
Click on the icons of the fireplace, curtains, and fan.
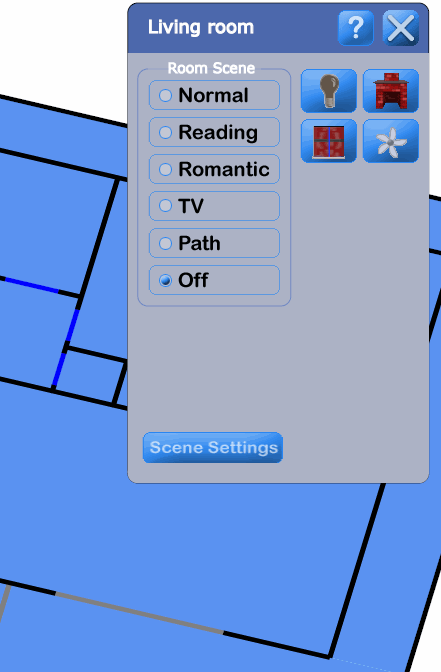
After clicking on the icons of the fireplace, curtains, and fan you will get the following Room menu. If you click the icons a 2nd time it will go back to the example above.
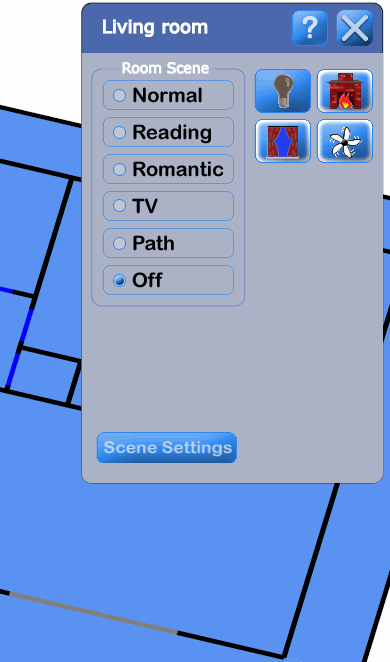
Change the setting of the Fireplace to on in Romantic scene and off in Off scene
In the Browser GUI, click on the Scene Settings button of the Room menu (as shown in the example above) to bring up the Scene Settings menu.
Click on the Fireplace icon.
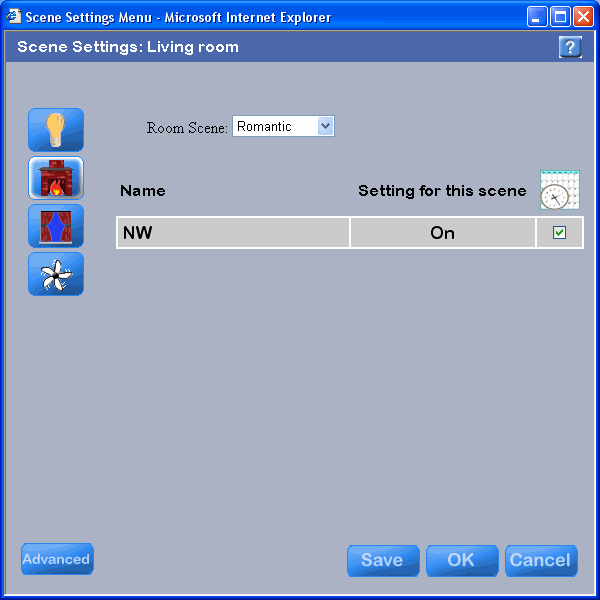
Select the Romantic scene from the dropdown menu.
Click on the words "No Change" and select "On" from the pop up menu.
You will get the menu at the right.
Click "Save".
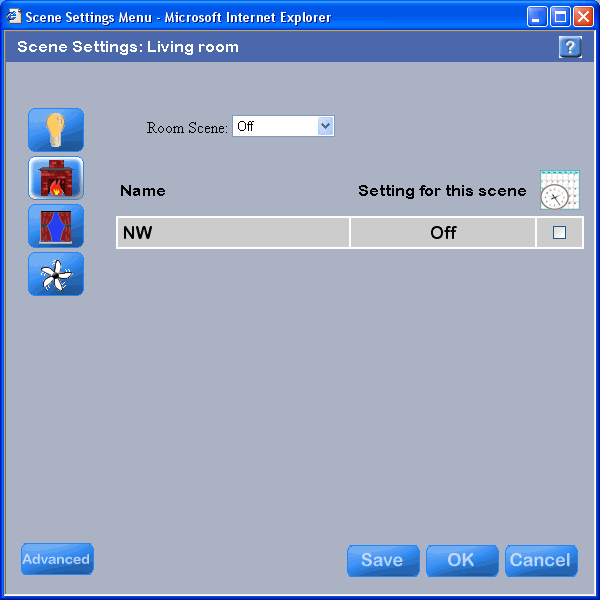
From the same menu, select the Off scene from the dropdown menu.
Click on the words "No Change" and select "Off" from the pop up menu.
You will get the menu at the right.
Click OK.
Open Check My Destiny and watch the Fireplace while changing Room scenes
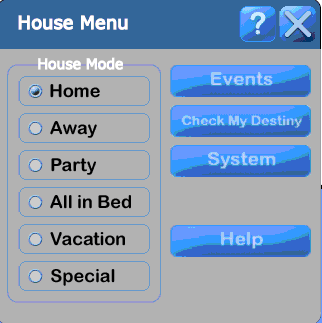
Click outside of all rooms to get the House menu.
Click on the Check My Destiny button.
Check My Destiny will open in a new window.
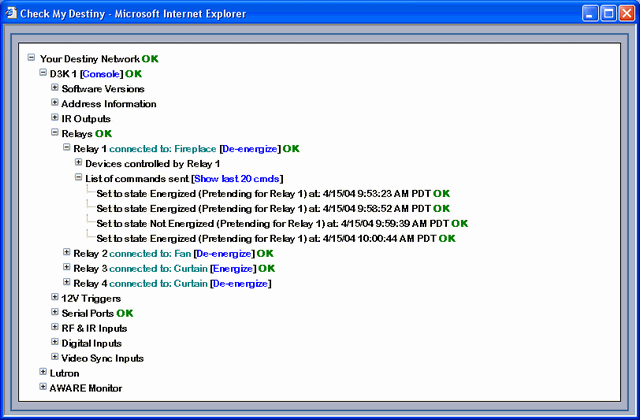
Expand the following lines: "D3K 1", "Relays", "Relay 1", "List of commands sent ..." and you will get something like the example at the right.
Re-open the Room menu in the Living room and click on different Room scenes (e.g., Normal, Romantic, Off).
Note that the fireplace icon turns off in Off scene, On in Romantic scene, and does not do anything when the other scenes are selected.
Note also that Check My Destiny shows the updates after they occur. Recall that Check My Destiny updates every 5 seconds so it may take a few seconds before you see any changes that you make.
