X.10

Ubiquity 3.0 supports X.10 dimmers, switches, and keypads.

Overview:


X.10 Architecture

The Domain Controller is connected to an X.10 modem that supports the ActiveHome serial protocol via a RS-232 cable.

Plug the X.10 modem directly into a wall outlet. Do not plug it into a power strip as it will reduce the strength of the X.10 signal. Similarly, it should not be plugged into an Uninterruptable Power Supply (UPS).

Note that there are many different types of X.10 modems available and they all speak different protocols. The only one we have tested is the ActiveHome X.10 modem from X.10 (try a Google search on "ActiveHome 2-Way Universal Computer Interface" to find the many deals that are available).
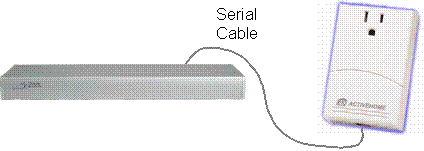


Domain 3000 and Global Cache Wiring

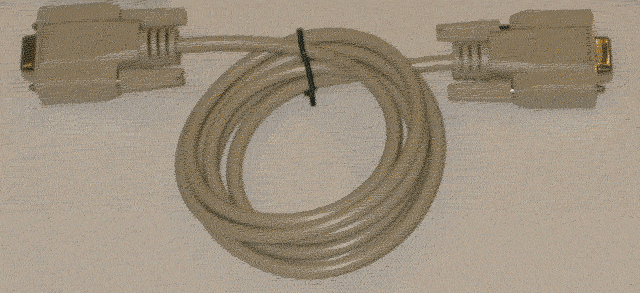
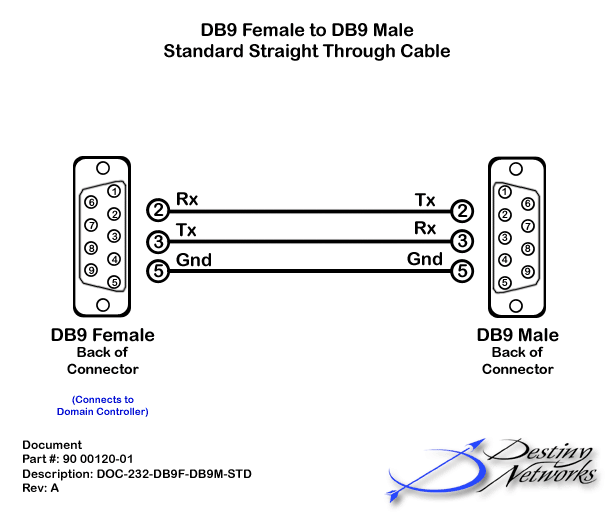
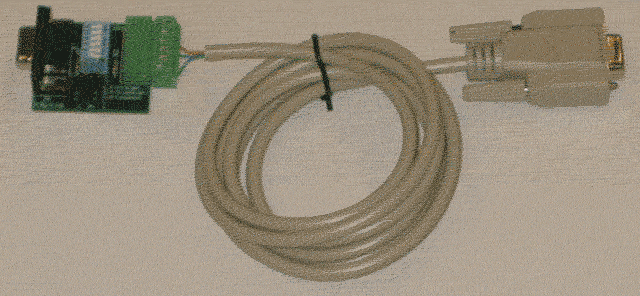
Connect a standard straight-through RS-232 cable from a serial port on the back of the Domain 3000 to the serial port of the X.10 modem as shown.


Test the communication of the X.10 modem

Connect the X.10 modem to your PC with a  commercially bought RS-232 cable, open up Hyper Terminal at 4800 baud.

Push a button on a X.10 keypad.

You should get a line of characters on the Hyper Terminal something like in the example at the right. If you do not get a line of characters repeat the procedure or call Destiny support.


Test the cable

Disconnect the commercially bought RS-232 cable from your PC and from the X.10 modem.

Connect the X.10 modem side of the cable that goes to the Domain Controller to the serial port of the X.10 modem.

For the Domain 3000: connect the Domain Controller side of the cable to your PC.

Repeat the communication test above to prove that the cable is good.

Once you know the cable is good, plug it into the Domain Controller.


Software

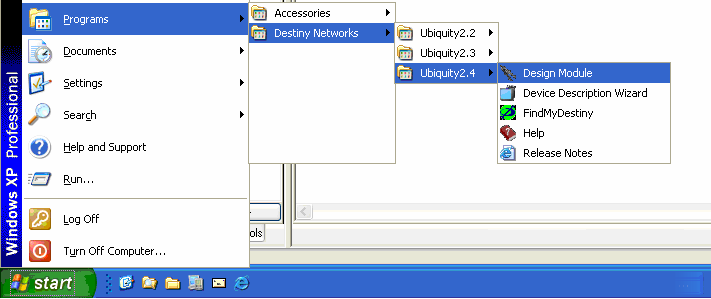
Run the Design Module.


Add the X.10 lighting system

Select the Lighting Systems layer of the Design Module.


Click in the location in the room in which you plan to install the Lighting System.


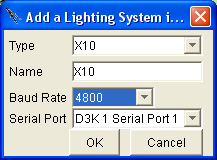
You will get a pop up menu like the one at the right.

Type: select X.10

Name: the default name is usually appropriate, but you can change it if you want.

Baud Rate: select 4800 (the X.10 signal is a good bit slower).

Serial Port: select an RS-232 port.

Click "OK".


After clicking OK on the menus above a red dot will appear where you initially clicked to add the lighting system.


Add a Light

Select the Lights layer of the Design Module.


Click in the location in the room where you would like to add the light.


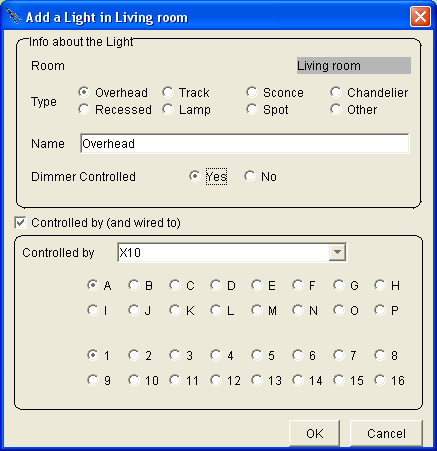
You will get a pop up menu like the one at the right. Please see the Lights layer for more information on the menu.

Type: select the type of light to automatically name the device.

Name: change the name if you would like. Note that each light in a room must have a unique name.

Select whether this light is dimmer capable.

Click the checkbox to the left of "Controlled by (and wired to).

Select the X.10 address.

Click "OK".


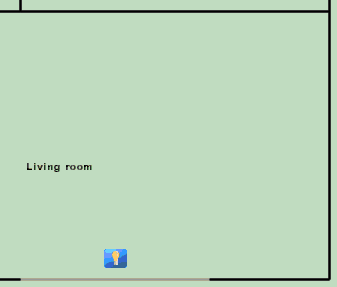
An icon for the device will appear.

In the Browser GUI, the Room menu will now have the icon of a light as a device that can be controlled. Each of the Room Scenes will have a default value for the light. The Light will have been added to the Action Tree so that it can be used for Timer Events, GUI Buttons, and Keypad Events.


Add a Keypad