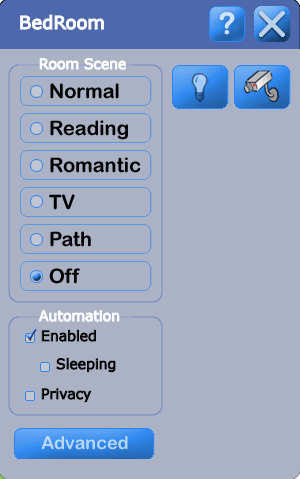
Connect the IP camera to the Network and plug in the power.
Insert the CD that comes with the Panasonic IP Camera into you PC and run setup to get the window at the right.
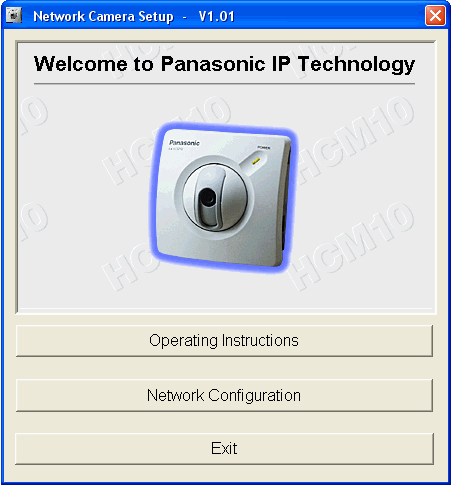
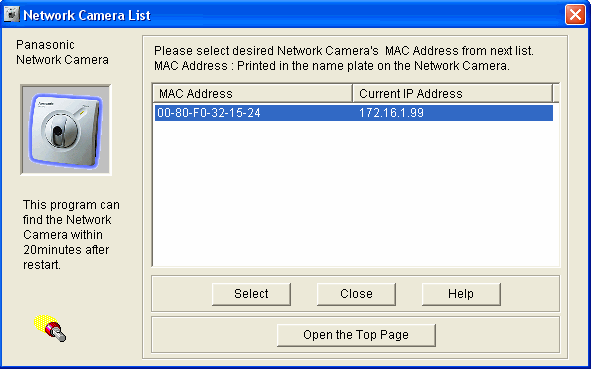
Click on the "Network Configuration" button and the Panasonic application will search your network for the IP camera as shown at the right.
Select the IP address of the new camera.
Update the IP address as appropriate.
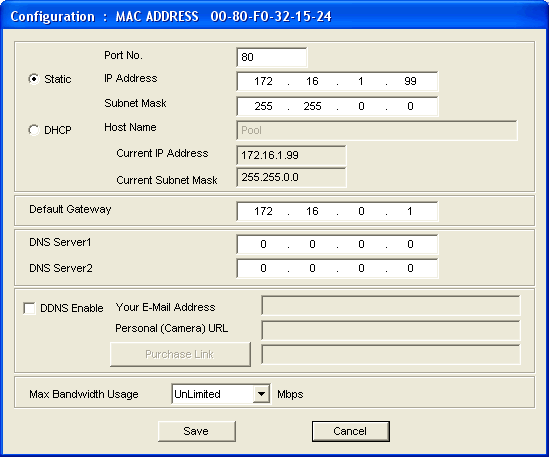
Click OK to get the welcome screen.
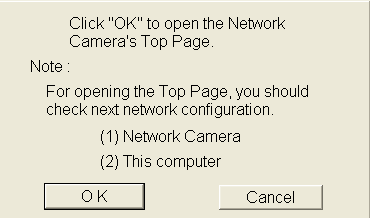
Choose the way you would like the camera to work, and this will then bring up the browser below.

Select the "Brightness", "Resolution"," Image Quality", and "Image Size" for the way you would like to view the camera.
In the "Address" field of the browser, click on the URL of the camera. It will look something like "http://172.16.1.99/ViewerFrame?Mode=Motion".
"Ctrl C" to copy this URL.

Go to the Design Module, to the "Camera" layer, and click on the room in which you would like to add the IP camera.
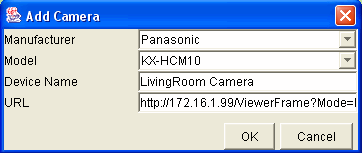
Select "Panasonic" as the manufacturer and the KX-HCM10 as the model.
Click in the box for the "URL" and "Ctrl V" to paste the URL of the camera and all of its settings into the box.
Click OK.
Go to the Graphical User Interface and you will now have a camera icon in the room menu.
Click on the camera icon and a new browser window will open with the view from the camera.
