Run the Design Module
Click "Start", "Programs", "Destiny Networks", "Ubiquity 3.1", "Design Module"
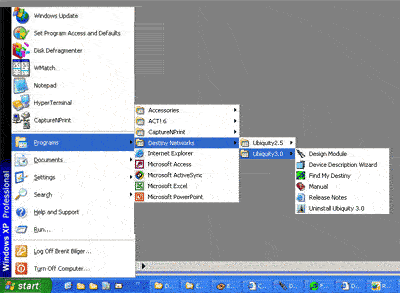
Open the Project: 09 Add an IP Camera.ubq
To open the project, select "File", "Open Config/Project"
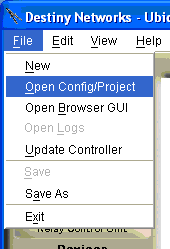
You will get the following menu.
Navigate to "C:\Program Files\Destiny Networks \Ubiquity \Ubiquity3.1\Examples\Examples for the Manual"
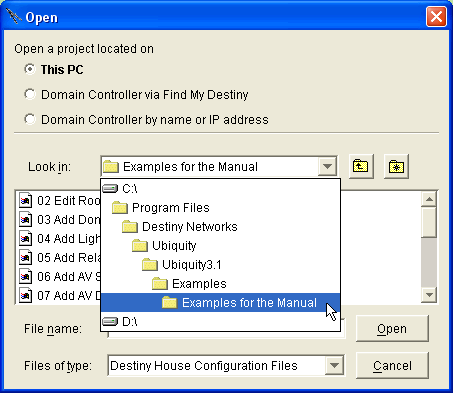
You will get the following menu.
Click on the project "09 Add an IP Camera.ubq"
Click the "Open" button
The project will open.
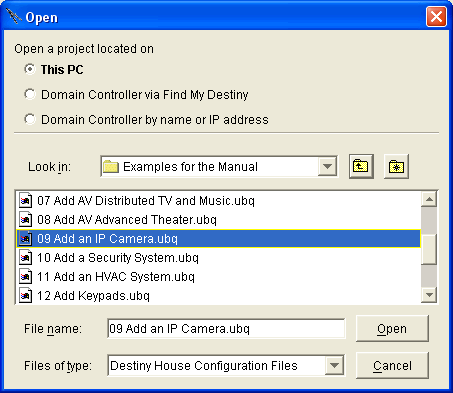
Add an IP Camera to the Front Porch
Select the Camera layer of the Design Module.
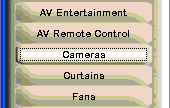
Click in the location in the room in which you plan to add the IP camera

You will get the "Add Camera" menu at the right.
On this menu, the only thing that really matters is the URL. When a user clicks on the icon of a camera on the Room menu, this URL will be launched in a separate web page.
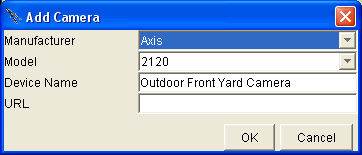
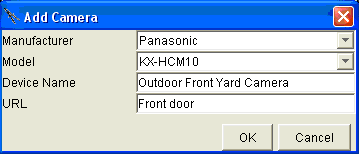
If you want, you can select Panasonic as the Manufacturer and the KX-HCM10 as the Model.
You can accept the default name or change it as you like.
Enter the URL as an IP address or DNS name. In this example a DNS name is used. In the 3rd Party Application Panasonic IP Camera an IP address is specified.
Click OK.
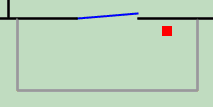
A red dot will appear on the floor plan where the camera was added. Click on this dot if you need to change the URL..
Open the IP camera
On the Browser GUI click on the Front Porch and the Room menu will open with an icon of the camera that was added.
Click on the icon of the camera to launch a new browser window pointing at the IP camera.
![]()