Z-Wave

Z-Wave is a wireless networking protocol invented by Zensys. Zensys sells chips that implement the standard to manufacturers of light switches and dimmers, today, and more products in the future. In the 3.0.1 software release, the Domain Controller supports the Z-Wave switches and dimmers in the same way we support other lighting systems. However, at this point we have less experience with the Z-Wave products than other lighting systems.

The Domain Controller connects to the Z-Wave modem via RS-232 - which can be directly connected to the Domain Controller or through a Lantronics Ethernet-to-serial converter

Overview:


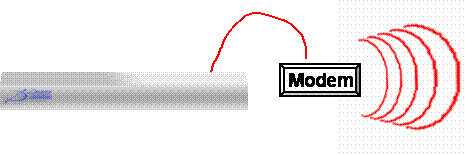
Z-Wave Architecture

The Domain Controller connects to the Z-Wave via an RS-232 interface. All keypad and light switch pushes are sent to the Domain Controller. Commands to set the lighting load to a certain dimming value are sent from the Domain Controller to the Z-Wave modules.


Domain 3000

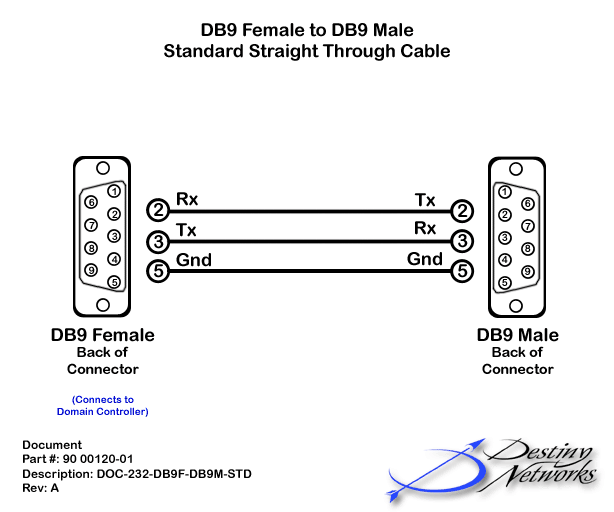
Connect a standard straight through RS-232 cable from a serial port on the back of the Domain Controller to serial port of the Z-Wave modem.


Add the Z-Wave modem

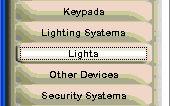
Select the Lighting Systems layer of the Design Module.


Click the location in the room in which you plan to install the Lighting System.


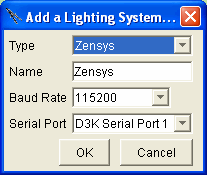
You will get a pop up menu like the one at the right.

Type: select Zensys

Name: the default name is usually good, but you can change it if you want.

Baud Rate: the Z-Wave modem can only run at 115200.

Serial Port: use the dropdown to select the appropriate serial port.

Click OK.


After clicking OK on the menus above a red dot will appear where you initially clicked to add the lighting system.


Add a Light

Select the Lights layer of the Design Module.


Click in the location in the room in which you plan to install the Lights.


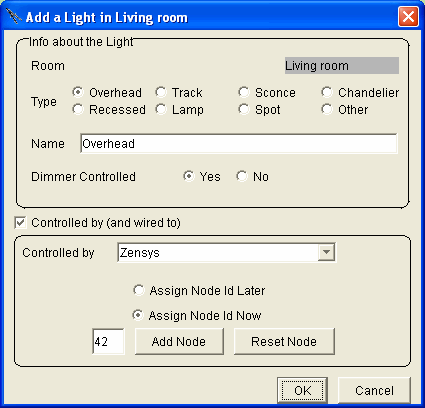
The "Add a Light in the <room name>" menu will pop up.

The "Room" will be the room you clicked in and it cannot be changed without cancelling out of the menu and clicking in the proper room.

Selecting the "Type" has only one purpose. It is an auto naming feature and it overwrites the present "Name" field.

The "Name" must be unique in this room (but can be the same as the name in another room). The name is auto generated by selecting the "Type" but you can add to the auto generated name or completely delete it and create your own name.

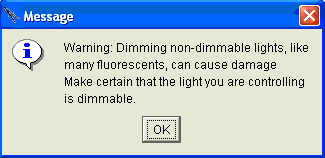
Every light you add will default to "No" for "Dimmer Controlled" so that you do not accidentally control a light improperly. If the light is dimmer controlled, then select the "Yes" radio button. The first time you select "Yes" you will get the warning message at the right. Please read the warning and then click OK.

Check the "Controlled by (and wired to)" check box to define how it is controlled. We highly recommend you do this when you add the device.

The "Controlled by" dropdown box will default to the last control used on any device layer. The first time you add a device after opening the Design Module, it will default to the Relay Control Unit of the Domain Controller. Select the Z-Wave modem (Zensys in the example at the right).

If you know the address of the light switch, enter it by hand. Alternatively, click "Add Node". You will get the "Add New Node" pop up menu at the right. Activate the light switch - the address will automatically populated for you..Note that the automatic population of the address only works when the switch is within the RF radius of the Z-Wave modem. It will not work by hopping via another switch. However, after it is configured with an address, switches and dimmers will work over multiple hops - it is just the configuring of the address automatically that does not work.

If the light switch has been previously assigned to a different Z-Wave modem, you will need to click the "Reset Note". This will make the existing Z-Wave modem the "home controller" for the switch.

Click OK.


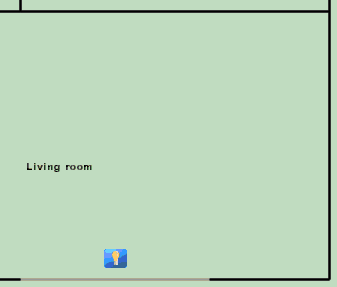
After clicking OK on the menu above an icon for the device will appear where you initially clicked to add it.

The Room menu now has the icon of the Light as a device that can be controlled. Each of the Room Scenes has a default value for the light. The Light has been added to the Action Tree so that it can be used for Timer Events, GUI Buttons, and Keypad Events.

Note that if you want to change any of the parameters of it, click on the icon of the device and make sure the "Edit " menu pops up. It is the one that also has a "Delete" button on it.