Vantage Architecture
The Domain Controller connects to the Vantage processor via an RS-232 interface. All keypad and light switch pushes are sent to the Domain Controller. Commands to set the lighting load to a certain dimming value are sent from the Domain Controller to the Vantage system.
Domain 3000 Wiring
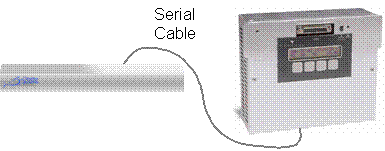
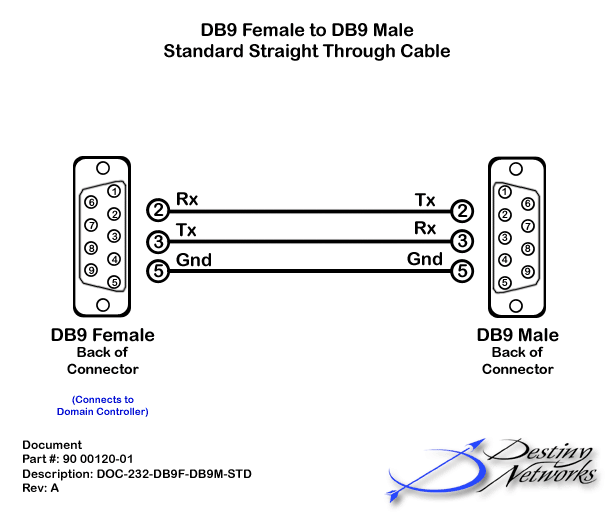
Connect a standard straight through RS-232 cable from a serial port on the back of the Domain 3000 to the serial port of the Vantage system as shown.
Test the communication of the Vantage system
Connected your PC to the Vantage system with a commercially bought RS-232 cable.
Run the Vantage software application with the appropriate project open.
Test with Hyper Terminal
Open Hyper Terminal at 19,200 baud, 8 data bits, no parity, 1 stop bit, no flow control. Open the ASCII settings menu and turn on Send Line feeds, Echo, and Append Line feeds.
Send a command to one of the modules in the Master cabinet. Specifically, turn on Master 1, Module 1, Load 1 by typing "VLA 1 1 1 80 0" (and press Enter).
To send a command to a slave module use the formula:
"VLA <master #> " " (<module #> + (<slave #> * 4)) " " <load #> " " <level> "\r\n"
For example, Master = 1, Slave = 1, Module = 1, Load = 1, level = 40 would be:
"VLA 1 5 1 40" (press enter)
Test the cable to the Vantage system
Disconnect the commercially bought RS-232 cable from your PC and from the Vantage.
Connect the Vantage side of the cable that goes to the Domain Controller to a serial port on the Vantage controller.
For the Domain 3000: connect the Domain Controller side of the cable to your PC.
Repeat the communication test above to prove that the cable is good.
Once you know the cable is good, plug the cable into the Domain Controller.
Reboot the Domain Controller.
Add the Vantage lighting system
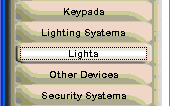
Select the Lighting Systems layer of the Design Module.
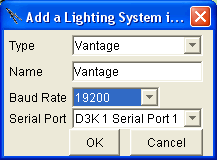
Click in the location in the room in which you plan to install the Lighting System.

You will get a pop up menu like the one at the right.
Type: select "Vantage".
Name: the default name is usually good, but you can change it if you want.
Baud Rate: the Vantage processor defaults to 19200 baud, no parity, 8 bits, 1 stop bit, no flow control. 19200 is the only baud rate available in the dropdown on the menu at the right.
Serial Port: use the dropdown to select the appropriate serial port.
Click OK.
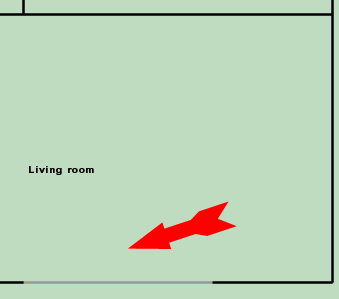
After clicking OK on the menus above a red dot will appear where you initially clicked to add the lighting system.

Add a Light
Select the Lights layer of the Design Module.

Click in the location at which you want to add the light.
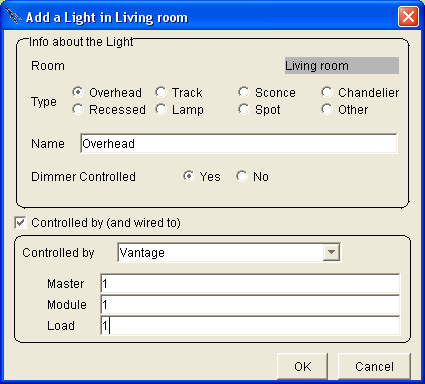
You will get a pop up menu like the one at the right.
Change the "Type" to auto generate a "Name".
Change the "Name" as you like.
Click "Yes" if it is "Dimmer Controlled".
If it isn't already checked, click in the checkbox labeled "Controlled by (and wire to).
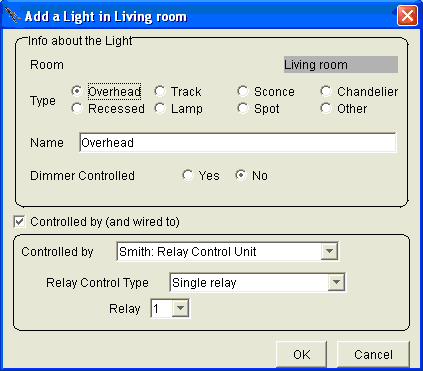
For "Controlled by" select "Vantage" from the dropdown menu.
Enter the address of the load.
If the load is in a slave container, add the slave address.
Click OK.
The icon of the light will appear on the floor plan.
The Room menu now has the icon of the Light as a device that can be controlled. Each of the Room Scenes has a default value for the light. The Light has been added to the Action Tree so that it can be used for Timer Events, GUI Buttons, and Keypad Events.
