Lutron HomeWorks Architecture
The Domain Controller connects to the Lutron RadioRA RA-RS232 Interface via an RS-232 interface. All keypad and light switch pushes are sent to the Domain Controller. Commands to set the lighting load to a certain dimming value are sent from the Domain Controller to the HomeWorks system.
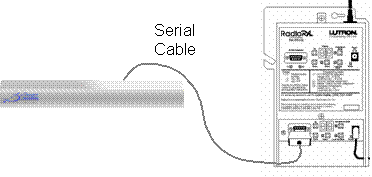
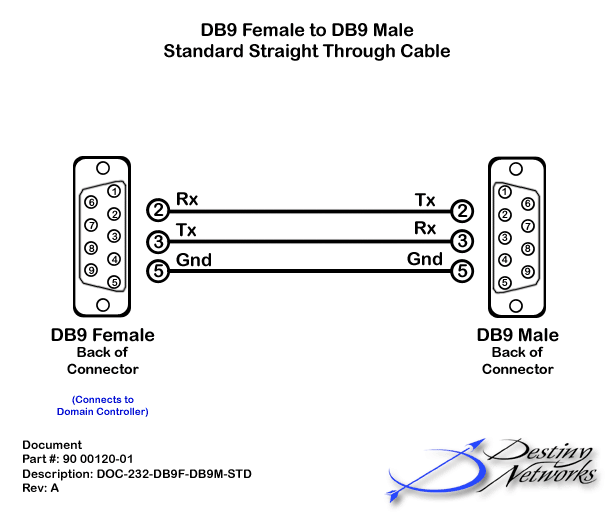
Domain 3000 and Global Cache Wiring
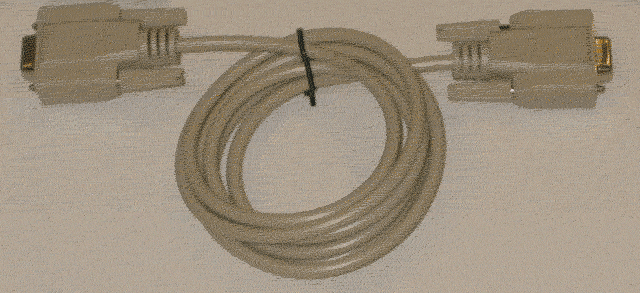
Connect a standard straight through RS-232 cable from a serial port on the back of the Domain 3000 to the serial port of the Lutron RadioRA RA-RS232 Interface as shown.
Installation of the RadioRA RA-RS232 Interface
Please follow the RA-RS232 Setup and Installation Guide Addendum step-by-step.
Assign addresses to each of the RadioRA dimmers and switches. This is explained in detail in the RA-RS232 Setup and Installation Guide Addendum, beginning on page 26. Note that you do not have to create or assign any Phantom rooms or Scenes
If you are using any RadioRA master controls (keypads), you need to assign each of them addresses. This is explained in detail in the RA-RS232 Setup and Installation Guide Addendum, beginning on page 29.
Make sure the system is working properly and communicating with Hyper Terminal at 9600 baud before proceeding with the installation.
Please see Installing Serial Cables to review how cables can be connected to a PC vs. the Domain Controller.
Other hints:
Minimize the use of LED updating on the keypads. Because of the delay between commands sent among the RadioRA devices, updating LEDs extends the amount of time you must wait to push another button.
RadioRA keypads are very convenient for controlling entertainment in rooms that were wired with speakers but not keypads. Because of the delay between button presses, you may want to assign several volume steps to one button on the keypad.
Test the communication of the Lutron RA-RS232 Interface
Connect the Lutron RA-RS232 Interface to your PC with a commercially bought RS-232 cable. Open up Hyper Terminal at 9600 baud.
Push a button on one of the Lutron keypads.
You should get a line of characters on the Hyper Terminal. If you do not get a line of characters repeat the procedure or call Lutron support for how to get the Lutron RA-RS232 Interface up and running and communication with your PC.
Test the cable
Disconnect the commercially bought RS-232 cable from your PC and from the Lutron RA-RS232 Interface .
Connect the Lutron RA-RS232 Interface side of the cable that goes to the Domain Controller to the serial port of the Lutron RA-RS232 Interface.
For the Domain 3000: connect the Domain Controller side of the cable to your PC.
Repeat the communication test above to prove that the cable is good.
Once you know the cable is good, plug the cable into the Domain Controller.
Add the Lutron RadioRA lighting system
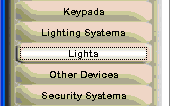
Select the Lighting Systems layer of the Design Module.
Click in the location in the room in which you plan to install the Lighting System.

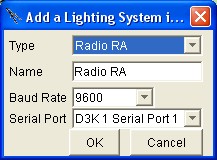
You will get a pop up menu like the one at the right.
Type: select "Radio RA".
Name: the default name is usually good, but you can change it if you want.
Baud Rate: RadioRA uses 9600 baud, no parity, 8 bits, 1 stop bit, no flow control. Use the Baud Rate dropdown on the menu at the right to select 9600 baud.
Serial Port: use the dropdown to select the appropriate serial port.
Click OK.
After clicking OK on the menus above a red dot will appear where you initially clicked to add the lighting system.

Add a Light
Select the Lights layer of the Design Module.

Click in the location in the room where you would like to add the light.
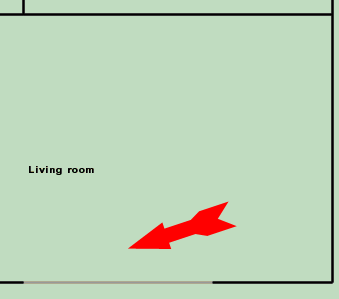
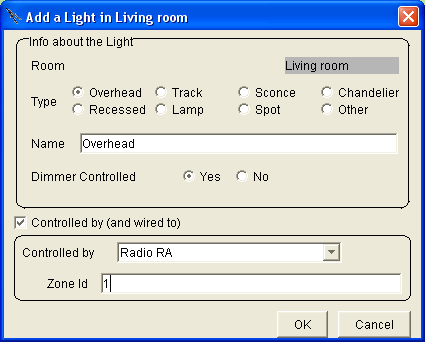
You will get a pop up menu like the one at the right. Please see the Lights layer for more information on the menu.
Type: select the type of light to automatically name the device.
Name: change the name if you would like. Note that each light in a room must have a unique name.
Select whether this light is dimmer capable.
Click the checkbox to the left of "Controlled by (and wired to).
Use the dropdown box to the right of "Controlled by" to select Radio RA
Enter the Zone ID of the Lutron RadioRA modem.
Click "OK".
An icon for the device will appear.
In the Browser GUI, the Room menu will now have the icon of a Light as a device that can be controlled. Each of the Room Scenes will have a default value for the light. The Light will have been added to the Action Tree so that it can be used for Timer Events, GUI Buttons, and Keypad Events.
Add a Keypad
Select the Keypad layer of the Design Module.

Click on the floor plan at the location of the keypad.
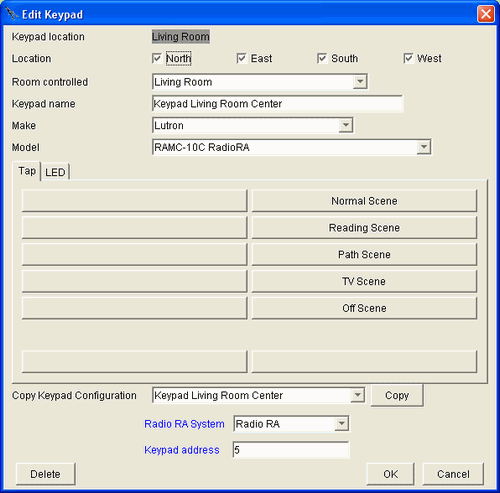
Use the checkboxes to select the location.
Select "Lutron" as the manufacturer.
For the Model, select the type of RadioRA keypad it is.
Create the actions you want the buttons to take.
Enter the "Keypad address".
Click OK.
The keypad is now operational.
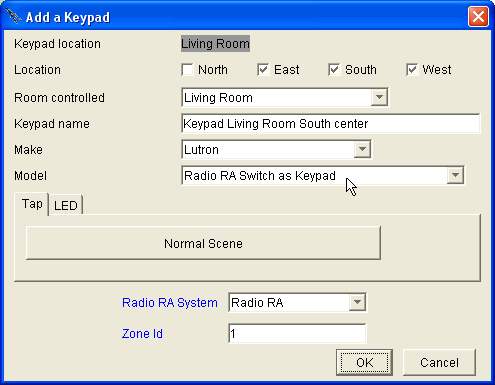
Turn a Light Switch into a Keypad
To have a Light Switch execute commands other than just turning on a light, you need to add a keypad to the Keypad layer such that the address of the keypad is the same as the address of the Light Switch. Then, when the light switch button is pressed, the action on that button of the keypad will happen.
Having added a light of address "1" to the project already, we can go to the keypad layer, and add a keypad by the same address.
Make sure to select the Model named "Radio RA Switch as Keypad".
Add the Action or Group of Actions to the button of the keypad that you would like to have occur when the light switch button is pressed (you can even create multiple pages on the keypad, if necessary).
Make sure the "Zone Id" has the same address as the Light Switch.
Click OK.
