Software support for Security Systems and HVAC involves an additional
charge for each end system. After purchasing the additional CD, install
and run the application on your PC. It will enable these 2 additional
layers of the Design Module.
The Architecture of the Security System is shown below. The Domain Controller
is connected to the 3rd Party Security System via a serial cable. The
Domain Controller can read the status of the Security System and arm and
disarm it in the same way an alarm keypad can.
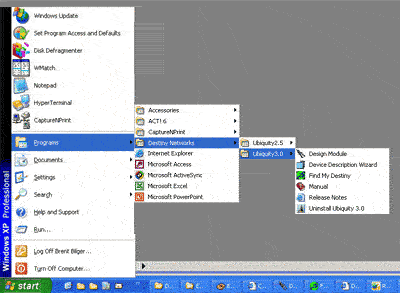
Run the
Design Module
Click "Start", "Programs",
"Destiny Networks", "Ubiquity 3.1", "Design Module" |
|
Open the Project:
Rooms edited.ubq
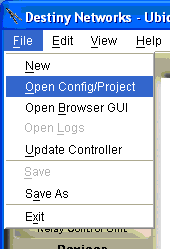
To open the project, select "File",
"Open Config/Project" |
|
|
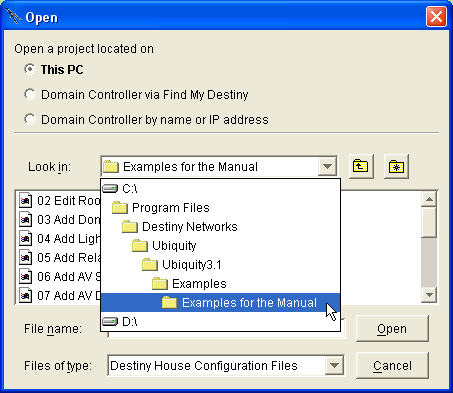
You will get the following menu.
Navigate to "C:\Program Files\Destiny
Networks \Ubiquity \Ubiquity3.1\Examples\Examples for the Manual" |
|
|
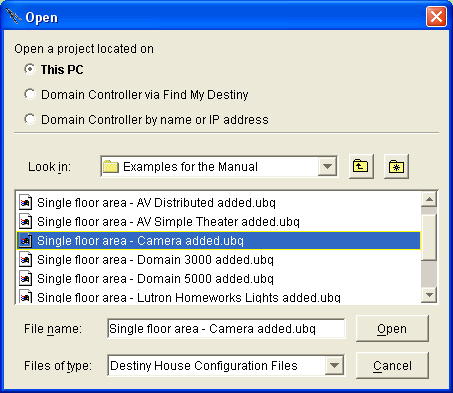
You will get the following menu.
Click on the project "Single floor area
- Camera added.ubq"
Click the "Open" button
The project will open. |
|
Add a GE
Caddx NX-8E Security System to the Master bedroom Closet
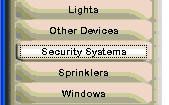
Select the Security System layer of the Design
Module.
|
|
|
Click in the location in the room in which
you plan to add the Security System. |

|
|
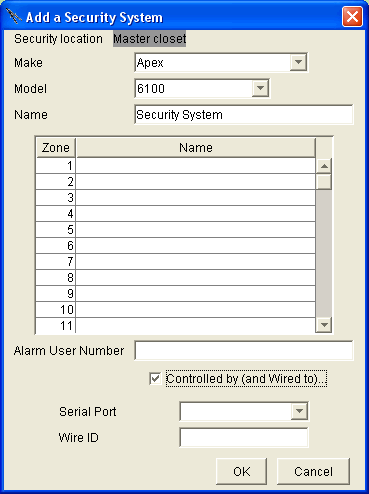
You will get the "Add a Security System"
menu.
Use the "Make" dropdown to select
Caddx.
Use the "Model" dropdown to select
the NX-8E
Use the "Serial Port" dropdown box
to select a serial port, but there aren't any serial ports available in
the house. Therefore, we need to add more serial ports.
|
|
Add
a Lantronix controller
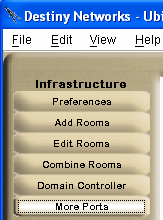
Select the "More Ports" layer of
the Design Module.
|
|
|
Click in the location in the room in which
you plan to add the Lantronix - click next to the existing relay controller. |

|
|
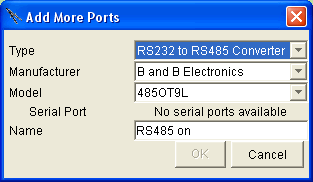
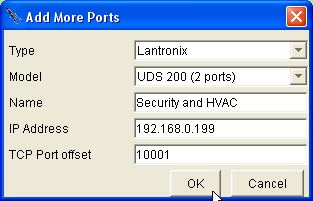
You will get the following menu.
For the "Type" select "Lantronix"
|
|
|
You will get the following menu.
We will need one additional serial port for
the Security system and one for the HVAC system, so select the 2 port
version.
Change the name to something like "Security
and HVAC".
You must enter the IP address. Even if you
do not know the final IP address, you must enter an IP address at this
time.
Leave the TCP port as is.
Click OK.
|
|
|
You will end up with an additional red dot
- this time with a "L" in it. |

|
|
Now go back to Security System layer of the
Design Module.
|

|
|
Click in the location in the room in which
you plan to add the Security System. |

|
|
You will get the "Add a Security System"
menu again.
Click the checkbox for "Controlled by
(and Wired to)" and use the dropdown to select a port.
However, the Lantronix ports do not show up
because the security systems must be connected directly to the Domain
3000 in this software release.
Therefore, go to the "Lighting System"
layer.
Click on the dot representing the HWI lighting
system.
For the HWI lighting system, use the dropdown
to change from using serial port 1 of the D3k to using the Lantronics
serial port in the closet.
|

|
|
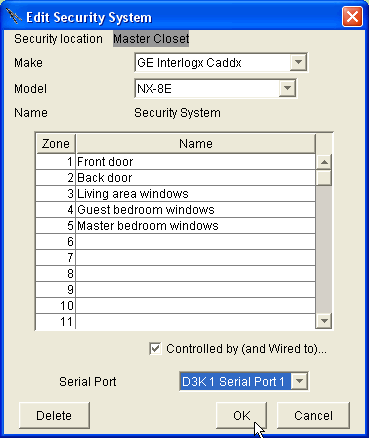
Then return to the Security layer, click in
the closet to bring up the default menu above.
Select the Make and Model of the security
system.
Fill in the security zones.
Select serial port 1 of the D3k.
Click OK. |
|

