Security System Architecture
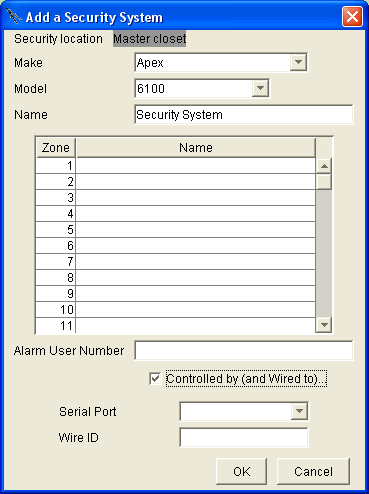
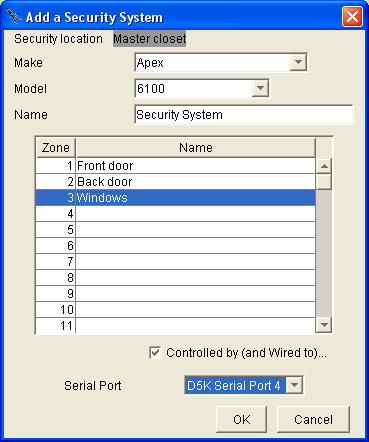
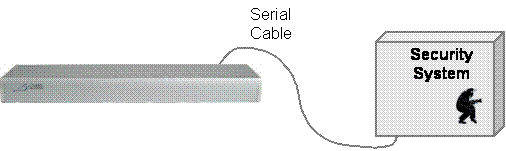
In the picture at the right the Apex Destiny 6100 security system is connected to the Domain Controller via RS-232.
Wiring the Domain 3000
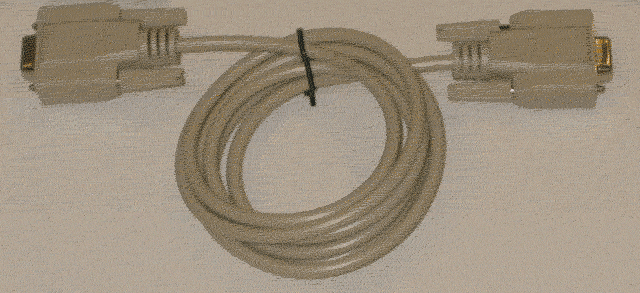
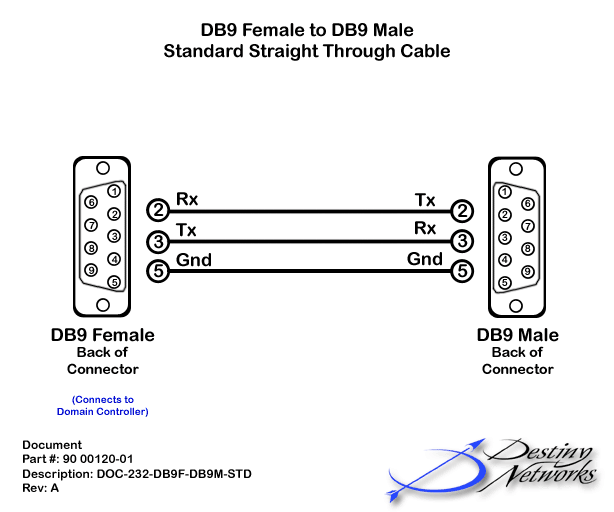
The serial cable is a standard straight through RS-232 cable.
Apex manufacturers the Destiny 6100 security system. It interfaces to the Domain Controller via RS-232.
This feature is now supported on the Domain 3000 in the 3.0 release for an additional software charge. Please email support@destinynetworks.com to receive the key to turn on this layer.
Overview:
Installation
Ubiquity Software
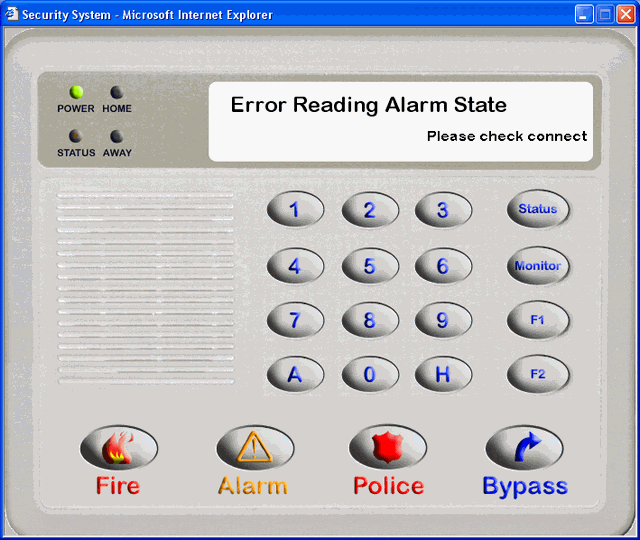
Test the serial port of the Security SystemConnect the Security System to your PC with a commercially bought RS-232 cable. Open up Hyper Terminal at 9600 baud. Push a button on a Security System keypad. You should get a line of characters on the Hyper Terminal something like in the example at the right. If you do not get a line of characters, repeat the procedure or call Destiny support.
|
Example is in development
|
Test the cableDisconnect the commercially bought RS-232 cable from your PC and from the Security System. Connect the Security System side of the real cable that goes to the Domain Controller to the serial port of the Security System. For the Domain 3000: connect the Domain Controller side of the cable to your PC. Repeat the communication test above to prove that the cable is good. Once you know the cable is good, plug it the into the Domain Controller.
|
|