Before getting started on your project, you may want to practice the
procedure below with one of the examples. Then, you will want to read
the Tips for Drawing Rooms.
|
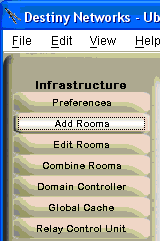
On the top left corner of the Design Module,
click the “Add Rooms” layer. This will bring up the gif of floor plan
of the house in the drawing window (note that is may take a few seconds
for the floor plan to appear) and any rooms you have already added. If
the gif of the blueprint does not appear within a few seconds, click on
the Edit Rooms layer and then click the Add Rooms layer again. |
|
|
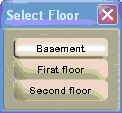
If your project has multiple floor areas,
then the floor you are working on will be displayed in the upper left
part of the window in a box that looks like this. You can change floors
by clicking on the name of the floor. Note that this menu does not appear
if the house only has one floor area.
|
|
|
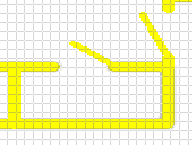
The drawing area will be covered with a grid.
Note that you can change both the size and offset of the grid to make
it line up better with the .gif of the floor plan. It
is important to set the grid size and offset before you begin drawing
any of the rooms. |
|
|
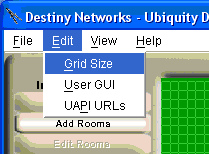
To change the grid size or offset, select
"Edit", "Grid Size" from the dropdown menu. |
|
|
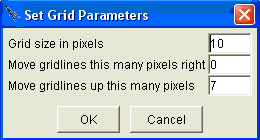
You will get this pop up menu.
Grid size in pixels:
Enter a smaller number (e.g., 5) to get a smaller grid size and more points
to snap to. You would usually do this when the rooms of the floor plan
are not rectangular and you need to draw diagonal lines. Typically, the
default of 10 is a good number. Setting the number to 0 turns off the
grid. Move gridlines this
many pixels right: You can shift the whole grid right to make the grid
align with the gif better. Move gridlines up this
many pixels: Same as the one above, but up. |
|
You will need to trace over each room in the house and any outside "Rooms"
that you want to monitor and control using the mouse to draw along the
lines of the walls of the rooms of the .gif of each floor area. Each room
must be a completely enclosed object. Some rooms may flow into other rooms
without doors or walls. Draw them as complete rooms in the Add Rooms layer
and then make those walls invisible in the Edit Rooms layer.
|
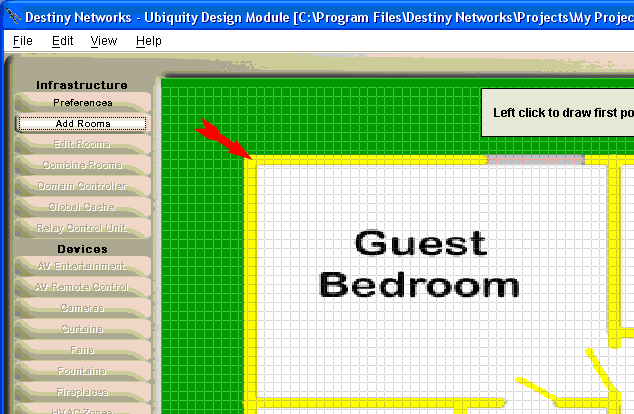
Start drawing a room by clicking (and releasing
- do not click and drag) on a corner of the room. We recommend that you
always click in the upper left corner of the room and draw clockwise around
the room so that you know that you are finished when you reach the upper
left corner again.
In the diagram at the left, the first click
is at the location where the arrow is pointing.
Note that the directions assist you in telling
you what to do. |
|
|
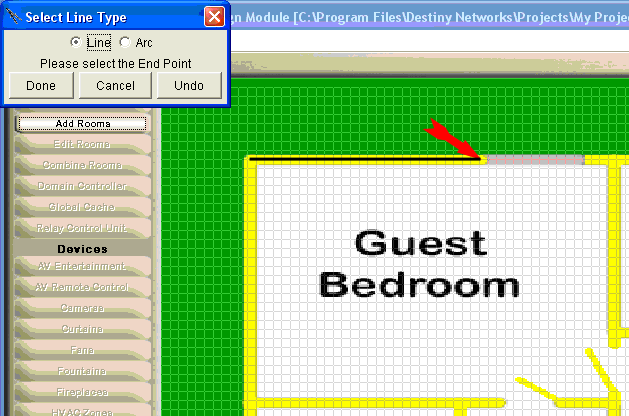
Move your mouse to the right along the wall
of the room and a black line will move with you. As you move your mouse
around, the line will "rubber band" to your mouse. Move your
mouse to the end of a wall or to beginning of a window or door (whichever
comes first) and click to create a line segment. In the example to the
right, the first line segment ends at the beginning of the window. |
|
|
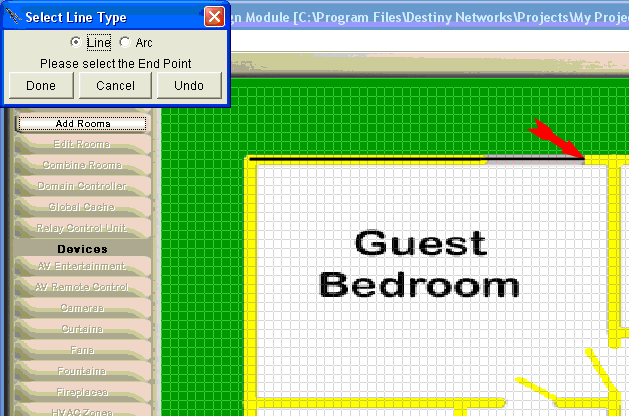
Click at the end of all windows to create
a line segment for the window. Later, in the Edit Rooms layer, you will
convert this line segment to a window. |
|
|
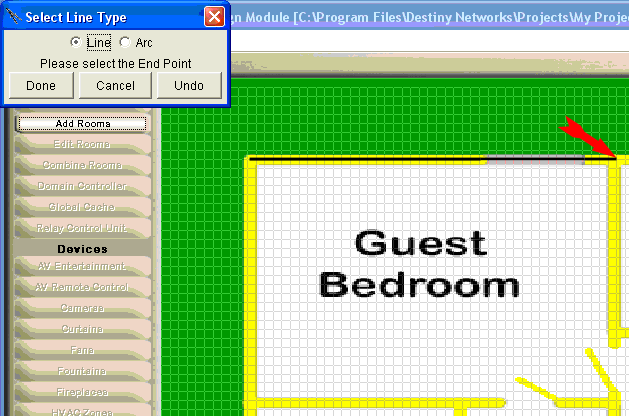
Click at the end of all walls to complete
one side of the room. |
|
|
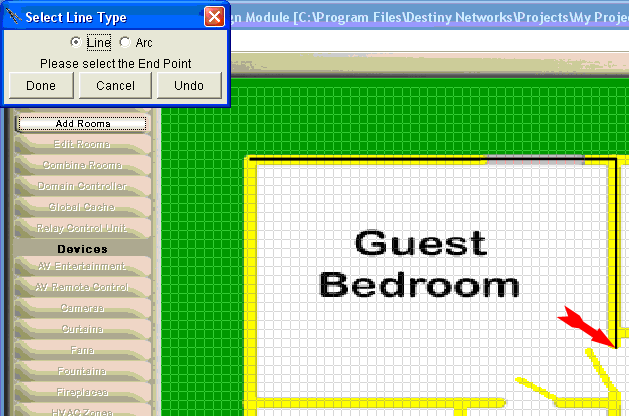
Click at the beginning of all doors. |
|
|
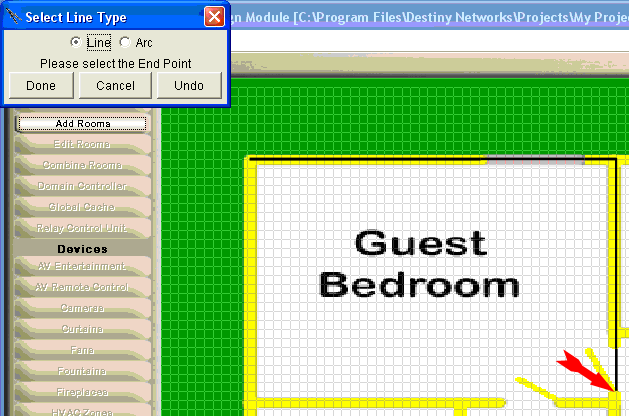
Click at the end of all doors. Later, in the
Edit Rooms layer, you will convert this line segment to a door. |
|
|
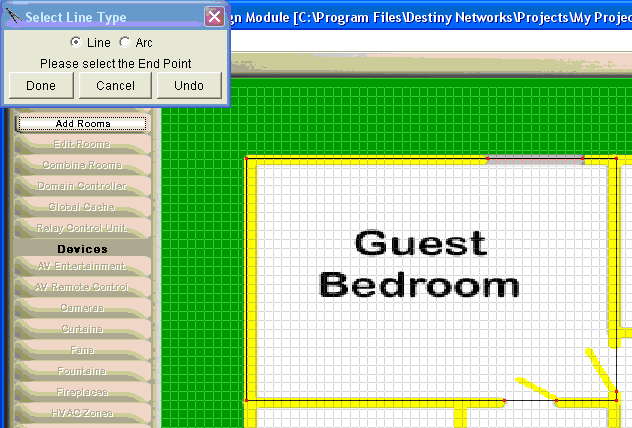
Finish clicking around the room back to the
starting point making sure to stop for all doors and windows. If you make
a mistake, you can click the "Undo" button to undo one point
at a time. If you miss a point, you can add it in (with a little more
effort ) on the Edit Rooms layer.
Note that if you have to click on a point
of the floor plan that is under the "Undo" button, you can move
the whole pop up menu by clicking on the top blue bar of the "Select
Line Type" pop up menu, holding down your mouse button and dragging
the pop up to somewhere else on the screen.
After you have finished, click the "Done"
button (at the upper left of the screen).
|
|
|
After clicking the "Done" button,
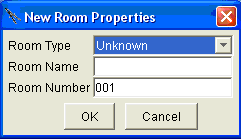
the "New Room Properties" menu will appear. |
|
|
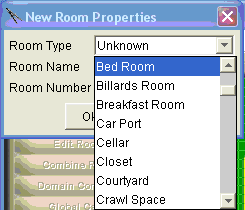
Use the dropdown menu to select the room type.
This will default the activity level of the room for handsfree automation
and offer a default name for the room, If the house is traditional automation
only, then the type doesn't matter.
As an alternative to using the dropdown, you
can just enter the first letter of the room name (multiple times if necessary). |
|
|
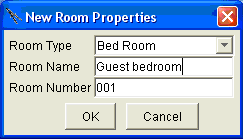
After selecting the room type, the room name
will be automatically filled in. However, you can change the name as you
like. In the example to the right the default name would have been "Bed
Room", but it was changed to "Guest bedroom".
The room number is not used by this software
release. In a future release it will be used for naming wires that go
to other rooms.
After you have entered the name, click "OK".
|
|
|
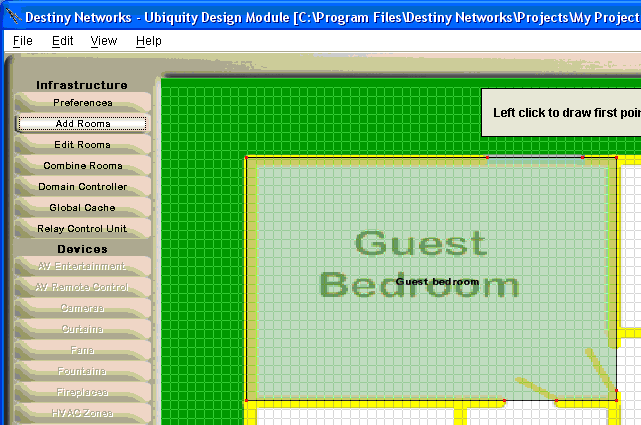
After clicking "OK", the menu will
disappear and the room will be filled in with a light green color and
the name of the room will also appear. You will be able to move the room
name in the Edit Rooms layer. |
|
|
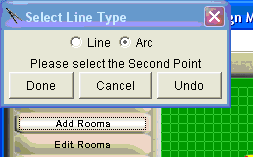
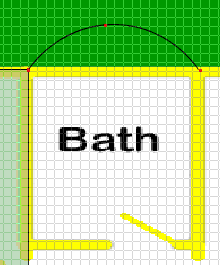
If you need to draw an arc, start by clicking
the "Arc" radio button on the "Select Line Type" menu.
Where
as it only takes 2 points to define a line segment, it takes 3 points
to define an arc. Typically, the 1st point will already exist from a previous
click. Click the 2nd point of the arc somewhere along the gif of the arc.
Note that while moving your mouse to the 2nd point, the line will not "rubber band" (no line appears)
because there is an infinite number of possible arcs. However, after you
click the 2nd point and begin moving your mouse, the arc will begin to
rubber band again. |
|


