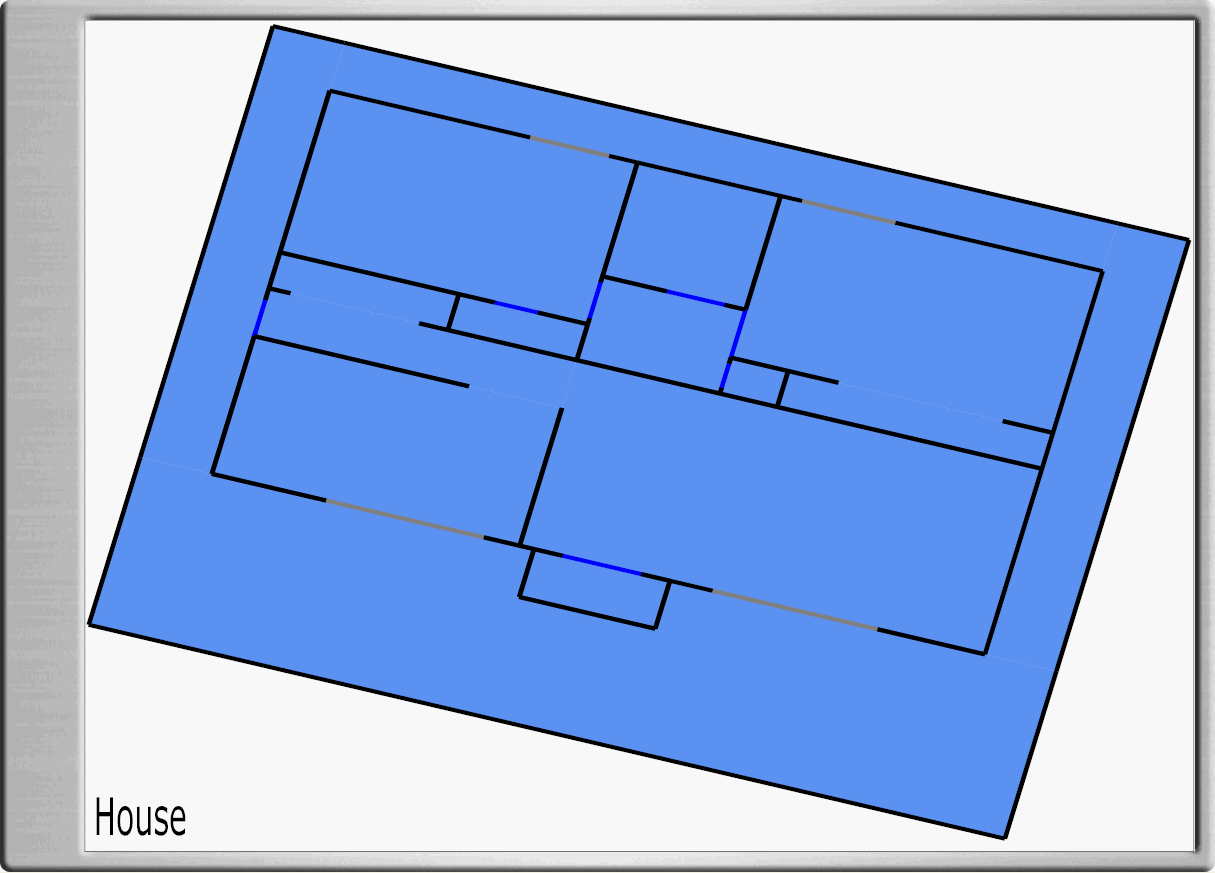
A house with just one floor area
A house with multiple floor areas
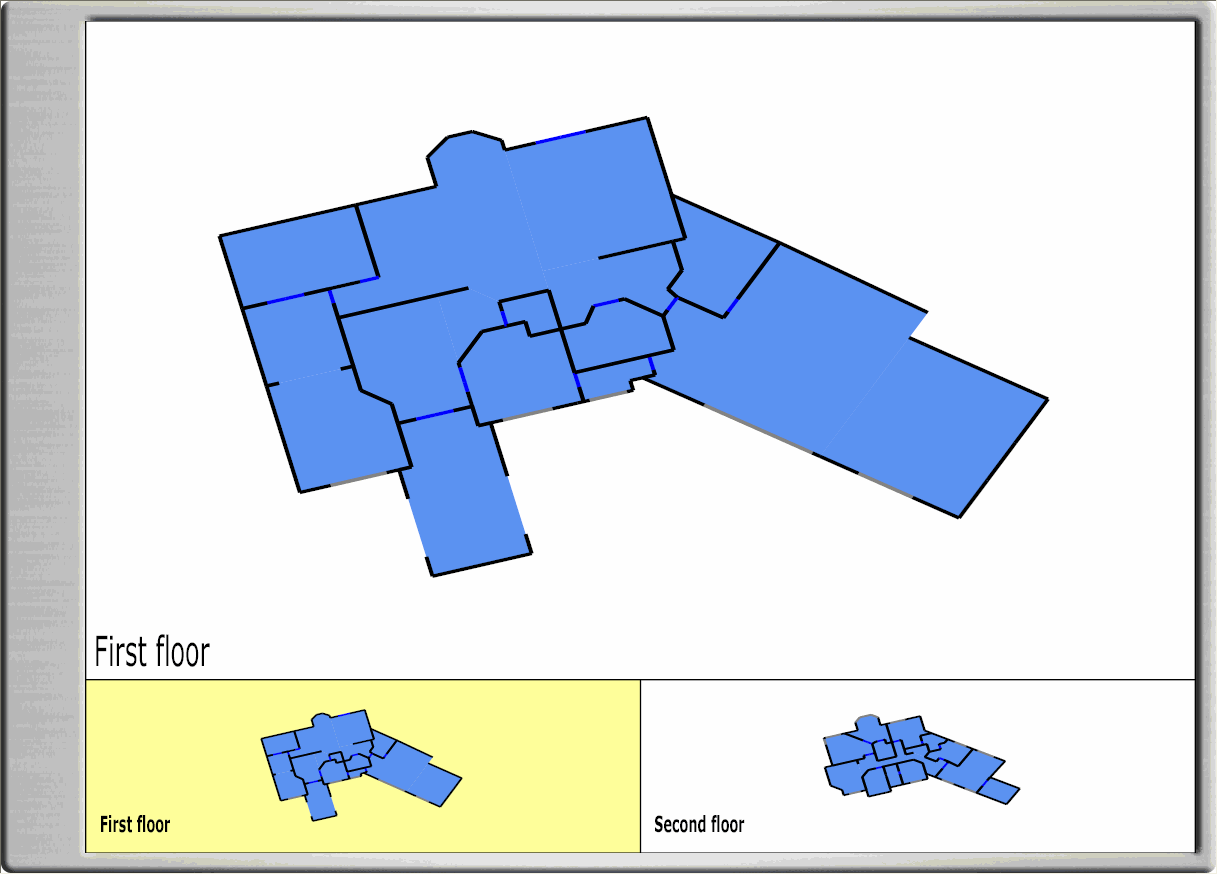
A floor area is a logical grouping of rooms that are connected together into an area of the house. Many homes can show all rooms with just one floor area. In this case, the one floor area will take up all of the Browser GUI as shown below. Alternatively, a home can have multiple floor areas. The rooms in these floor areas are often grouped by the floor they are on (e.g., basement, 1st floor, 2nd floor, etc.), but can also be grouped by wing or building. A house with multiple floor areas shows all of the floor ares at the bottom of the window with the selected floor area highlighted in yellow and displayed in the upper part of the window.
|
A house with just one floor area
|
A house with multiple floor areas
|
Note that both of the houses above use traditional automation only. You can tell this because the rooms are blue.
Before adding a floor area to the project, you must Obtain a gif or jpg of the Floor Plan. Please do this before proceeding.
To add a floor area to the project click on the Preferences Layer of the Design Module and you will see the Floor Plan View menu shown below.

Click on the "Add Floor Area" button shown above to get the menu below so you can add a gif or jpg of the floor area of the house to the project. Type in the name of the floor you would like to add, and you will get the following menu:

Click the "Find" button and navigate to the gif or jpg of the floor plan that you have previously saved on your PC using the pop up menu that appears (belows).

In the example above, a floor plan was chosen from the labs included in this release. Click OK and you have entered one of the floor areas of the house.

At this point, you can add additional floor areas, if they exist, by repeating the steps above starting with clicking on the "Add Floor Area" button.
Note that if you want to choose a different gif or jpg for a floor area, you can click the "Browse" button associated with that layer.